So, you’ve got a Granwood floor and it’s seen better days? Don’t sweat it. We’re going to chat about giving it a new lease of life with a Granwood floor epoxy coating. It might sound a bit technical, but honestly, it’s more straightforward than you think. This guide is all about making sure your Granwood floor looks its best again, and stays that way. We’ll cover everything from what Granwood actually is to how you can get it looking tip-top with the right epoxy.
Key Takeaways
- Granwood floors are made from recycled rubber and wood, needing specific care to avoid damage.
- Picking the right Granwood floor epoxy coating means looking at how tough it is and what it looks like.
- Getting the floor ready is a big deal – clean it well and make sure the surface is just right for the epoxy to stick.
- Applying the Granwood floor epoxy coating involves careful mixing and putting on coats, letting each one dry properly.
- Looking after your newly coated floor with regular cleaning will keep it looking good for ages.
Understanding Granwood Flooring And Its Needs
Right then, let’s get stuck into what Granwood flooring actually is and why it needs a bit of TLC, especially when we’re thinking about giving it a new lease of life with some fancy epoxy.
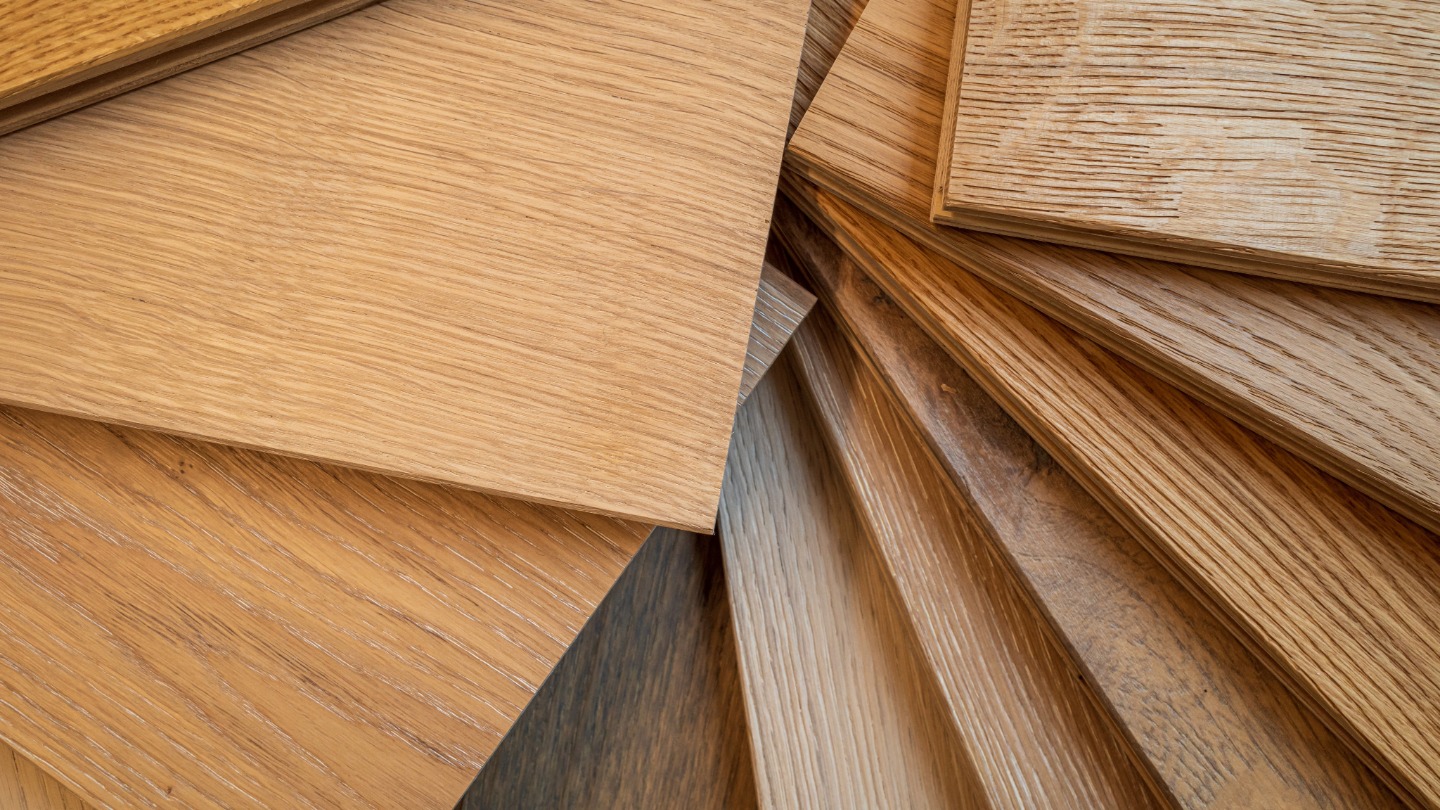
What Exactly Is Granwood?
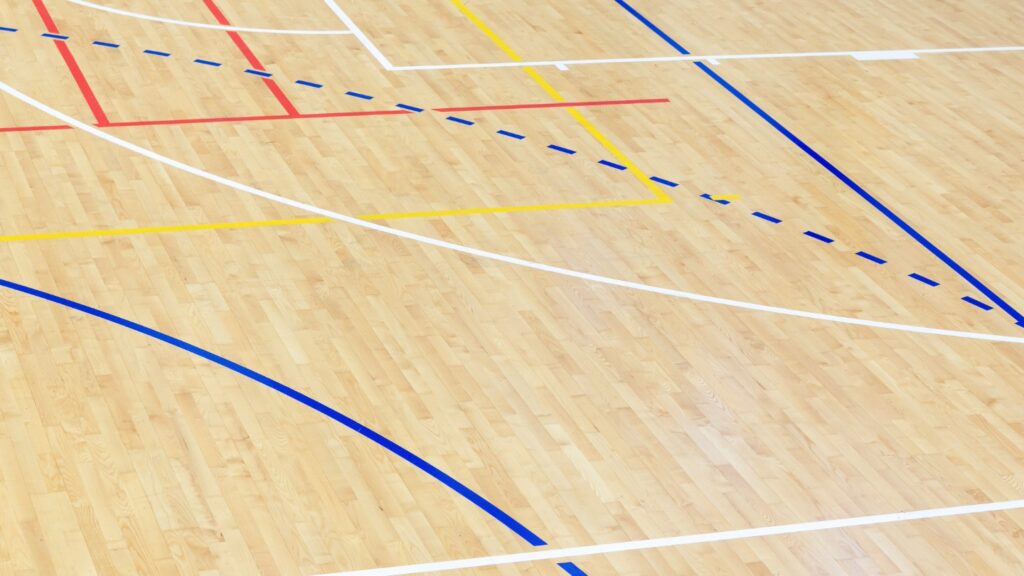
So, Granwood isn’t your average wooden floor. It’s actually a bit of a hybrid. Think of it as a composite material, usually made up of wood particles, binders like resin, and sometimes colour pigments. This mix is then pressed into sheets or tiles. It was pretty popular back in the day, especially in places like schools, gyms, and community halls, because it was seen as tough and relatively easy to maintain. It’s known for being really hard-wearing, which is great, but it also means it’s not as forgiving as, say, a soft pine floor. It’s got a unique look, often with a speckled or textured appearance, and it can feel quite solid underfoot.
Why Granwood Floors Need Special Care
Because Granwood is a composite, it doesn’t quite behave like solid wood. It’s less prone to warping from moisture than some natural woods, but it can still be affected by water, especially if it gets into the binder. The main thing is that its surface can become dull, scratched, or even chipped over time with heavy use. Unlike a simple wooden floor that you might sand back to bare wood easily, Granwood can be a bit trickier. You can’t just go at it with a super aggressive sander without risking damage to the composite structure. It needs a gentle but effective approach to cleaning and restoration. Trying to use the wrong products can also lead to problems, like making the surface sticky or discoloured.
Common Issues Affecting Granwood
Over the years, Granwood floors can pick up a few battle scars. You might see:
- Surface Wear: This is the most common. The top layer can get scuffed, scratched, and lose its original sheen. Think of it like a well-used countertop.
- Staining: Spills, especially oily or coloured ones, can sometimes soak in and leave marks that are hard to shift.
- Chipping or Cracking: In high-traffic areas or where heavy objects have been dropped, you might find small chips or even hairline cracks appearing.
- Dullness: Even without obvious damage, the floor can just start to look tired and lacklustre.
- Previous Coatings Failing: If it’s had coatings applied before, these might be peeling, flaking, or looking uneven, which is often a sign they weren’t the right type or weren’t applied correctly.
Dealing with these issues before you even think about epoxy is key to getting a great finish. It’s all about understanding what you’re working with, really.
Choosing The Right Granwood Floor Epoxy Coating
Right then, picking the correct epoxy for your Granwood floor is a bit like choosing the right tool for a job – get it wrong, and you’ll be kicking yourself later. We’re not just slapping any old paint on here; we’re talking about a proper coating that needs to stand up to some serious wear and tear. So, what should you be looking for?
Key Features Of A Top-Notch Epoxy
When you’re scanning the shelves or online listings, keep an eye out for these.
- High Solids Content: This is a big one. Epoxies with a higher percentage of solids mean less water or solvents, which translates to a thicker, more durable finish. Aim for 90% solids or more if you can.
- Chemical Resistance: Granwood floors, especially in busy areas, can get all sorts of spills. Your epoxy needs to shrug off things like oil, grease, cleaning chemicals, and even some mild acids without breaking a sweat.
- UV Stability: Nobody wants their newly coated floor to turn yellow or fade after a few months in the sun. Look for epoxies that are formulated to resist UV damage.
- Low VOCs: While not strictly about performance, it’s better for you and the environment. Volatile Organic Compounds (VOCs) are the nasty fumes you sometimes get. Lower is definitely better.
Considering Durability And Longevity
This is where the rubber meets the road, or rather, the epoxy meets the floor. Granwood can be tough, but it’s also porous, so the coating has to work hard. You want an epoxy that forms a strong, flexible bond, not something brittle that will crack under pressure. Think about the traffic your floor gets. Is it a home gym, a workshop, or a high-traffic communal area? The more abuse it’s likely to take, the tougher your epoxy needs to be. Some industrial-grade epoxies are designed for forklifts, so they’re probably overkill for most Granwood applications, but they give you an idea of the performance ceiling. For most Granwood restorations, a good quality 100% solids epoxy designed for concrete or industrial floors will do the trick nicely.
Aesthetics And Finish Options
Okay, so it needs to be tough, but it also needs to look good, right? Nobody wants a drab floor. The good news is there are loads of options.
- Colours: Forget boring grey. You can get epoxies in pretty much any colour you can imagine. Think about the room’s existing decor or the vibe you’re going for. Bold colours can make a statement, while more muted tones offer a classic look.
- Flake Systems: These are super popular. You broadcast decorative vinyl flakes into the wet epoxy, which gives the floor a textured, almost granite-like appearance. It also helps hide minor imperfections and adds a bit of slip resistance.
- Metallic Finishes: For something a bit more ‘wow’, metallic epoxies create a swirling, three-dimensional effect that looks pretty spectacular. They’re a bit more involved to apply, but the result can be stunning.
- Clear Top Coats: Often, you’ll apply a clear epoxy top coat over your coloured or flaked base coat. This adds an extra layer of protection and can give you a high-gloss, satin, or matte finish. Choose your sheen wisely – high gloss looks amazing but shows every speck of dust and can be slippery when wet.
Preparing Your Granwood For Epoxy Application
Right then, before we even think about sloshing that fancy epoxy around, we’ve got to get the Granwood floor ready. This bit is super important, honestly. If you skip this, your shiny new coating might not stick properly, and that’s a whole heap of trouble you don’t want. Think of it like prepping a canvas before you paint – you wouldn’t just slap paint on a dusty, bumpy surface, would you?
Thorough Cleaning Is Crucial
First things first, let’s get this floor properly clean. We’re talking about getting rid of everything that could get in the way of the epoxy bonding. This means dust, dirt, grease, old polish, anything sticky – the lot.
- Sweep and Vacuum: Start with a good sweep to get up all the loose bits. Then, follow up with a vacuum cleaner. Get into all the nooks and crannies.
- Degrease: If there are any oily or greasy spots (common in workshops or kitchens!), you’ll need a good degreaser. Follow the product instructions carefully. Rinse thoroughly afterwards.
- Wash Down: Give the floor a good wash. Use a neutral cleaner – nothing too harsh that might damage the Granwood itself. Again, make sure you rinse all the soap residue off. You don’t want any leftover cleaner interfering with the epoxy.
- Dry, Dry, Dry: This is non-negotiable. The floor needs to be completely bone dry before the epoxy goes on. Any moisture trapped underneath will cause problems later.
Addressing Surface Imperfections
Once it’s clean and dry, have a good look at the floor. Are there any little dings, cracks, or bits that are loose?
- Fill Cracks and Holes: Small cracks and chips can usually be filled with a suitable Granwood repair filler or even a compatible epoxy filler. Follow the product’s instructions for application and drying times.
- Smooth Bumps: If there are any slightly raised areas, you might need to gently sand them down to create a level surface. Be careful not to damage the surrounding Granwood.
- Check for Loose Chips: If you find any loose chips of Granwood, they really need to be secured or removed. You don’t want them coming up later and messing with your coating.
Ensuring Proper Adhesion Conditions
This is about the environment you’re working in. The temperature and humidity play a big part in how well the epoxy sticks and cures.
- Temperature: Most epoxies have a recommended temperature range for application and curing. Check the tin! Generally, you want it to be somewhere between 15°C and 25°C. Avoid applying if it’s too cold or too hot.
- Humidity: High humidity can be a problem. It can slow down curing and sometimes lead to a cloudy finish. Try to work in a dry environment if possible.
- Ventilation: Make sure the area is well-ventilated, but not so much that you’re blowing dust onto the wet floor. Good airflow helps with drying and curing, and it’s also important for your own safety when working with chemicals.
Getting the prep right is honestly half the battle. Rushing this stage is a false economy; you’ll just end up redoing the job later, and nobody wants that hassle. Take your time, be thorough, and you’ll thank yourself when you see the final result.
So, give it a good clean, sort out any little issues, and check the weather. Then, you’re pretty much good to go for the exciting part – applying the epoxy!
The Step-By-Step Granwood Floor Epoxy Coating Process
Right then, let’s get down to the nitty-gritty of actually getting that epoxy onto your Granwood floor. It might seem a bit daunting, but honestly, if you take it one step at a time, you’ll be absolutely fine. Just remember to read the manufacturer’s instructions for your specific epoxy product – they’re the real experts here.
Mixing Your Epoxy Like A Pro
This is probably the most important bit. Get this wrong, and the whole job can go pear-shaped. Most epoxy kits come in two parts: a resin and a hardener. You need to mix these together in the exact ratio the tin tells you. Seriously, don’t eyeball it. Use a clean bucket and a mixing stick or a drill with a mixing paddle attachment. Mix it thoroughly, scraping the sides and bottom of the bucket to make sure everything’s combined. Once mixed, you’ve got a limited time to use it, so don’t mix more than you can apply in that window. This is often called the ‘pot life’, and it’s a real thing!
Applying The First Coat
Okay, you’ve got your mixed epoxy ready. Now, start applying it to the floor. A good quality roller is your best friend here. Work in manageable sections, rolling the epoxy out evenly. Try to maintain a wet edge, meaning you’re always rolling into the section you just coated. This helps avoid those nasty lap marks. Don’t go too thick; a thin, even coat is better than a gloopy one. If you’re working on a large area, it’s a good idea to have someone helping you to keep things moving.
Second Coat And Curing Times
Most Granwood floors will benefit from a second coat. Wait for the first coat to be touch-dry but not fully cured – again, check your product’s instructions for the exact recoat window. This usually means waiting a few hours, but not days. Apply the second coat just like the first, aiming for that same even coverage. After the final coat, you need to let it cure properly. This isn’t just about it being dry to the touch; it needs time to harden up fully. Stay off the floor for at least 24-48 hours, and avoid heavy furniture for a week or so. This allows the epoxy to reach its maximum hardness and durability. It’s a test of patience, but worth it in the end.
Maintaining Your Newly Coated Granwood Floor
Right then, you’ve gone and done it – your Granwood floor looks amazing with its fresh epoxy coating. High five! But now comes the bit that separates the ‘wow’ from the ‘oh dear’: keeping it looking that good. It’s not rocket science, honestly, but a bit of know-how goes a long way. Let’s get into how to keep that shine going strong.
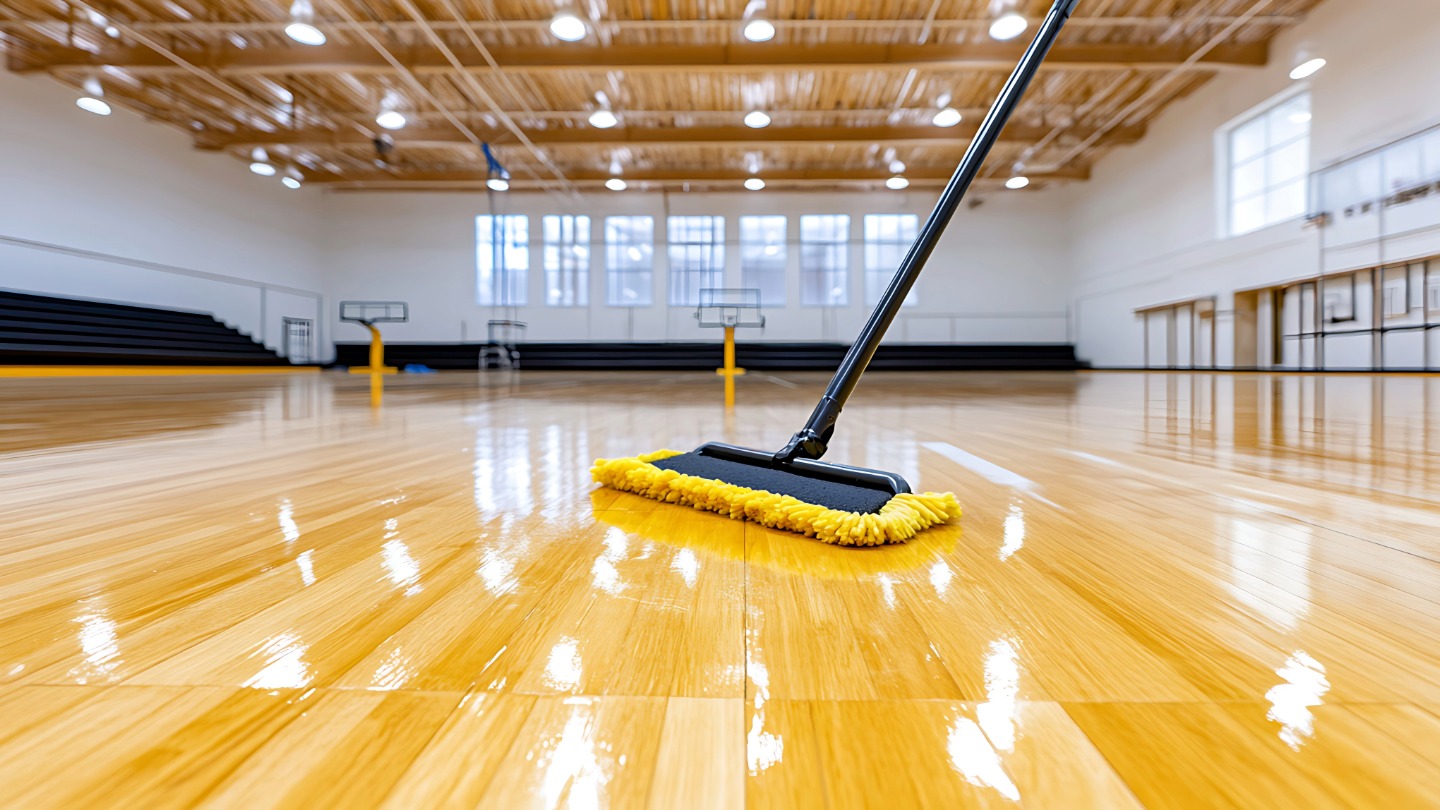
Daily Care and Cleaning Tips
Think of your newly coated floor like a favourite jumper; you wouldn’t just chuck it in with the muddy boots, would you? Same idea here. Regular, gentle cleaning is your best mate.
- Sweep or vacuum daily: Get rid of any grit or dust. A soft brush attachment on your vacuum is ideal. Avoid those stiff, scratchy bristles – they’re the enemy.
- Damp mop weekly: Use a mild cleaning solution. We’re talking pH-neutral stuff, nothing harsh. A microfibre mop is your friend here. Wring it out well; you don’t want puddles sitting around.
- Wipe up spills immediately: Coffee, wine, whatever it is – don’t let it sit. A quick wipe with a damp cloth is all it takes.
Protecting Your Investment Long-Term
This is where you go from just cleaning to actually looking after your floor’s future. A little effort now saves a lot of hassle later.
- Use doormats: Place good quality mats both outside and inside main entrances. This traps a surprising amount of dirt and grit before it even gets near your floor.
- Furniture pads are a must: Stick felt pads on the bottom of all furniture legs – chairs, tables, sofas, you name it. This is probably the single most important thing you can do to prevent scratches.
- Avoid abrasive cleaners: Seriously, steer clear of anything with ammonia, bleach, or strong solvents. They can dull the finish or even damage the epoxy over time.
- Consider rugs in high-traffic areas: Hallways and doorways can take a beating. A nice rug can add a bit of style and offer extra protection.
Dealing With Minor Wear and Tear
Even with the best care, life happens. You might get a tiny scuff or a faint mark. Don’t panic!
Most minor issues can be sorted with a bit of elbow grease and the right approach. For scuffs, try a soft cloth with a tiny bit of your mild cleaner. If you notice a dull spot, it might just need a gentle buff with a clean, dry microfibre cloth. For anything more serious, like a chip or a deeper scratch, it’s usually best to consult the epoxy manufacturer’s guidelines or a professional. Trying to patch it up yourself without the right materials could make it look worse, and nobody wants that.
Remember, the epoxy coating is tough, but it’s not indestructible. Treating it with a bit of respect will keep it looking fantastic for years to come. Think of it as a long-term relationship – a little bit of consistent care makes all the difference.
Troubleshooting Common Epoxy Coating Challenges
Right, so you’ve gone through all the prep, mixed your epoxy just so, and started applying it. But then, uh oh, something doesn’t look quite right. Don’t panic! Most epoxy hiccups are fixable, and knowing what to look for can save you a lot of stress. Let’s talk about the common gremlins that can pop up and how to sort them out.
Addressing Uneven Application
This is a big one. You might end up with patches that look thicker or thinner than others, or maybe you missed a spot entirely. It happens, especially if you’re working against the clock or the epoxy starts to set faster than you expected.
- What to do: If the epoxy is still wet (this is key!), you can often go back over the uneven areas with your roller or squeegee. Try to feather the edges of the thicker bits into the thinner areas. The goal is to blend it all together before it hardens.
- If it’s already cured: This is trickier. You might need to lightly sand down the high spots and then reapply a thin coat of epoxy over the affected area. It’s not ideal, but it’s better than living with a patchy floor.
Dealing With Bubbles Or Streaks
Bubbles are usually caused by trapped air, often from mixing too vigorously or applying too thinly. Streaks can come from a dirty roller, inconsistent pressure, or the epoxy not flowing out properly.
- Bubbles: If you see them forming as you apply, a quick pass with a spiked roller can often pop them before they set. If they’ve already hardened, you’ll likely need to sand them down and touch up the area.
- Streaks: These are often a sign of an inconsistent application. Make sure you’re using a good quality roller designed for epoxy and applying even pressure. If they’re minor and the epoxy is still workable, you might be able to smooth them out. For cured streaks, sanding and recoating is usually the fix.
When To Call In The Experts
Sometimes, despite your best efforts, things just don’t go to plan. If you’re facing a major issue, or if you’re just not feeling confident about fixing it yourself, it’s okay to get help.
- Major adhesion problems: If large sections of the epoxy are peeling or lifting, there might have been an issue with the surface prep or the epoxy itself. This often requires a full strip and reapplication.
- Extensive cracking or delamination: These are serious flaws that can compromise the entire coating. Trying to patch them might not last.
- You’re just not comfortable: Honestly, if you’re feeling overwhelmed or worried about making things worse, calling a professional is the smartest move. They have the tools and experience to fix it properly.
Remember, even the pros sometimes run into issues. The trick is knowing how to deal with them effectively. Don’t beat yourself up if you encounter a problem; focus on finding the best solution for your Granwood floor.
Dealing with tricky epoxy coating problems can be a pain. But don’t worry, we’ve got your back! Our section on “Troubleshooting Common Epoxy Coating Challenges” breaks down the most frequent issues and offers simple fixes. If you’re facing a sticky situation or a cloudy finish, we’ve got the answers. For more expert advice and to see how we can help you achieve a perfect epoxy floor, visit our website today!
So, What’s the Takeaway?
Right then, that’s pretty much the lowdown on getting your Granwood looking tip-top again with some decent epoxy coatings. We’ve gone through why it’s a good idea and how to go about it, hopefully making it sound less daunting than it might have seemed at first. It’s not rocket science, but taking your time and using the right stuff will make all the difference. Give it a go, and you’ll likely be chuffed with the results. Happy restoring!
Frequently Asked Questions
What’s Granwood flooring, anyway?
Think of Granwood as a tough, colourful flooring often found in places like schools or gyms. It’s made from wood chips and a special binder, giving it a unique look and feel. It’s pretty durable but can get a bit tired-looking over time.
Why can’t I just use any old paint on my Granwood floor?
Granwood needs a bit of TLC, and standard paints just won’t cut it. It needs a special coating, like an epoxy, that can stick properly and handle all the wear and tear it’s likely to get. It’s all about giving it the right protection.
How do I get my Granwood floor ready for this fancy epoxy stuff?
First off, you’ve got to give it a really good clean – no dust or grease allowed! Then, you’ll need to sort out any little cracks or bumps. Basically, you want a super smooth and clean surface for the epoxy to grab onto.
Is applying epoxy a tricky job?
It can be a bit fiddly, but it’s totally doable! You need to mix the epoxy stuff just right, then apply it in thin layers. Patience is key here; you don’t want to rush it, especially when waiting for each coat to dry.
How do I keep my newly coated Granwood floor looking its best?
Easy peasy! Just sweep or vacuum it regularly and give it a wipe with a damp mop. Avoid harsh cleaners, as they can damage the new coating. Think of it like looking after a new pair of trainers – keep ’em clean and they’ll last ages.
What if my epoxy coating doesn’t turn out perfect?
Don’t panic! Sometimes you might get a few bubbles or streaks. Often, a light sanding and another thin coat can fix small issues. If it’s a big mess, though, it might be time to call in the pros who know their stuff.