So, you’re looking to get those indoor cricket floor markings just right, eh? It’s not as simple as just slapping some paint down, especially on those PU surfaces. We’ll talk about how to make sure your lines stay put, no matter how many times the ball hits the boundary. Let’s get those creases looking sharp and lasting ages.
Key Takeaways
- Getting the right paint for your indoor cricket floor markings on PU is a big deal for how long they last.
- You’ve got to prep that PU surface properly before painting. Clean it well and make sure it’s dry.
- How you put the paint on matters. Think about the best tools and maybe a couple of coats.
- For really tough markings, look into stronger paints like two-part epoxies or UV-cured stuff.
- Keep up with cleaning and fix any small bits of wear and tear to keep your indoor cricket floor markings looking good.
Understanding Your Indoor Cricket Floor Markings
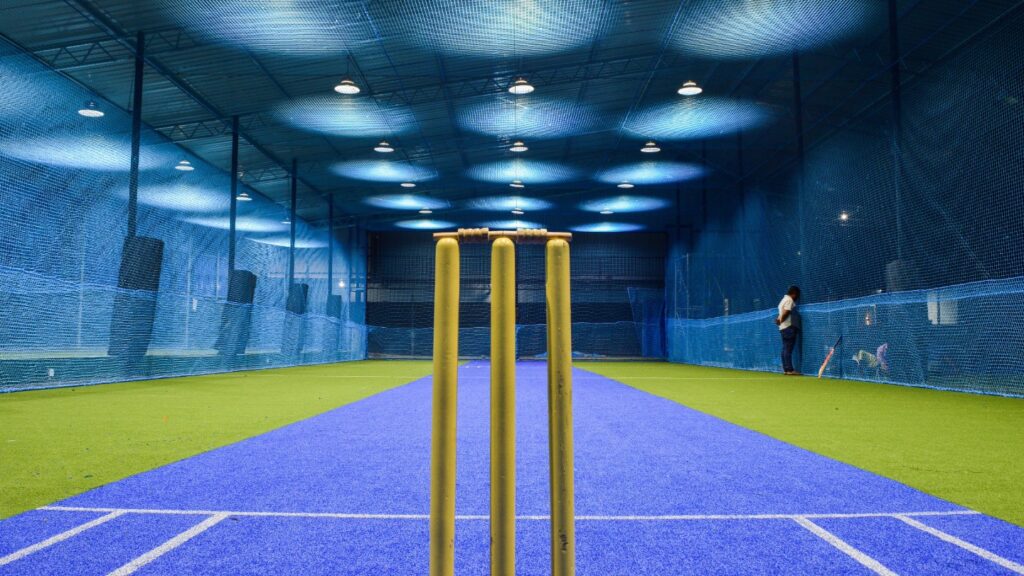
Right then, let’s chat about those lines on your indoor cricket pitch. They’re not just there to look pretty, you know. They’re actually pretty important for the game itself. Think about it – where’s the crease? How far do you have to run for a single? All that stuff is dictated by those painted lines.
Why Indoor Cricket Floor Markings Matter
Honestly, without clear markings, playing indoor cricket would be a bit of a free-for-all. You need those lines to know where the boundaries are, where the stumps are meant to be, and how big the batting crease actually is. It helps keep the game fair and stops any arguments about whether a batsman was in or out of their ground. Plus, it just makes the whole setup look more professional, doesn’t it?
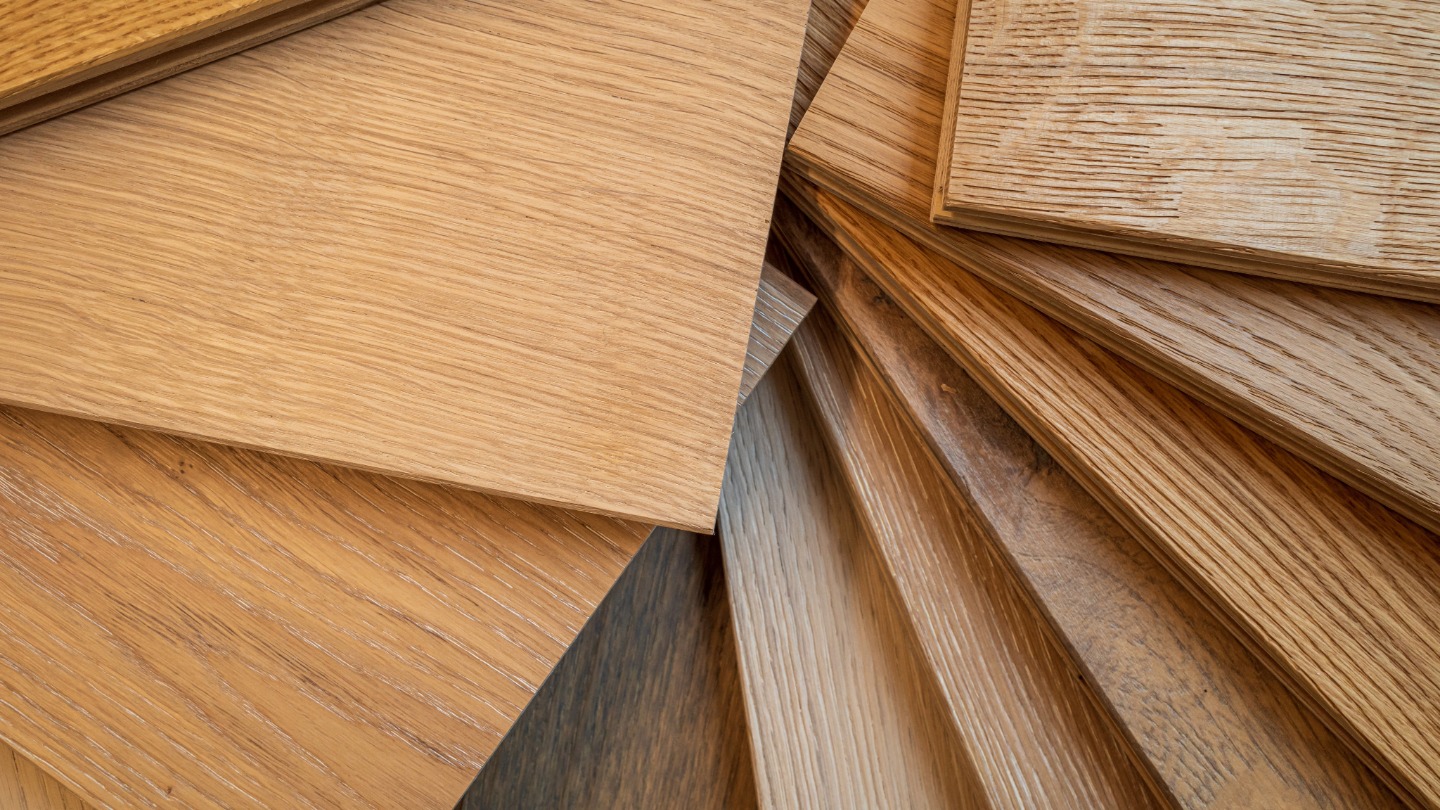
The Unique Challenges of PU Surfaces
Now, indoor cricket pitches are often made from Polyurethane, or PU for short. This stuff is great for a lot of reasons – it’s bouncy, durable, and can handle a lot of foot traffic. But when it comes to painting lines on it, it can be a bit tricky. PU is a bit flexible, and it can also be a bit oily or waxy, which means paint doesn’t always stick to it like you’d hope. Get the prep wrong, and your lovely new lines could start peeling off after just a few games. It’s a bit like trying to paint on a greasy frying pan; the paint just wants to slide off.
Choosing the Right Paint for Longevity
So, with PU being a bit of a diva when it comes to paint, you can’t just grab any old tin from the shed. You need something specifically designed for sports surfaces, and even better, something that plays nicely with PU. We’ll get into the nitty-gritty of application later, but picking the right type of paint is the first big step to making sure your markings last. Using the wrong stuff is just asking for trouble down the line, leading to faded lines and constant repainting. Nobody wants that, do they?
Surface Preparation: The Foundation for Durable Markings
Right then, let’s talk about getting your indoor cricket floor ready for some fresh markings. Honestly, this bit is super important, maybe even more than the painting itself. If you skip this, your lovely new lines might just peel off after a few games, and nobody wants that hassle.
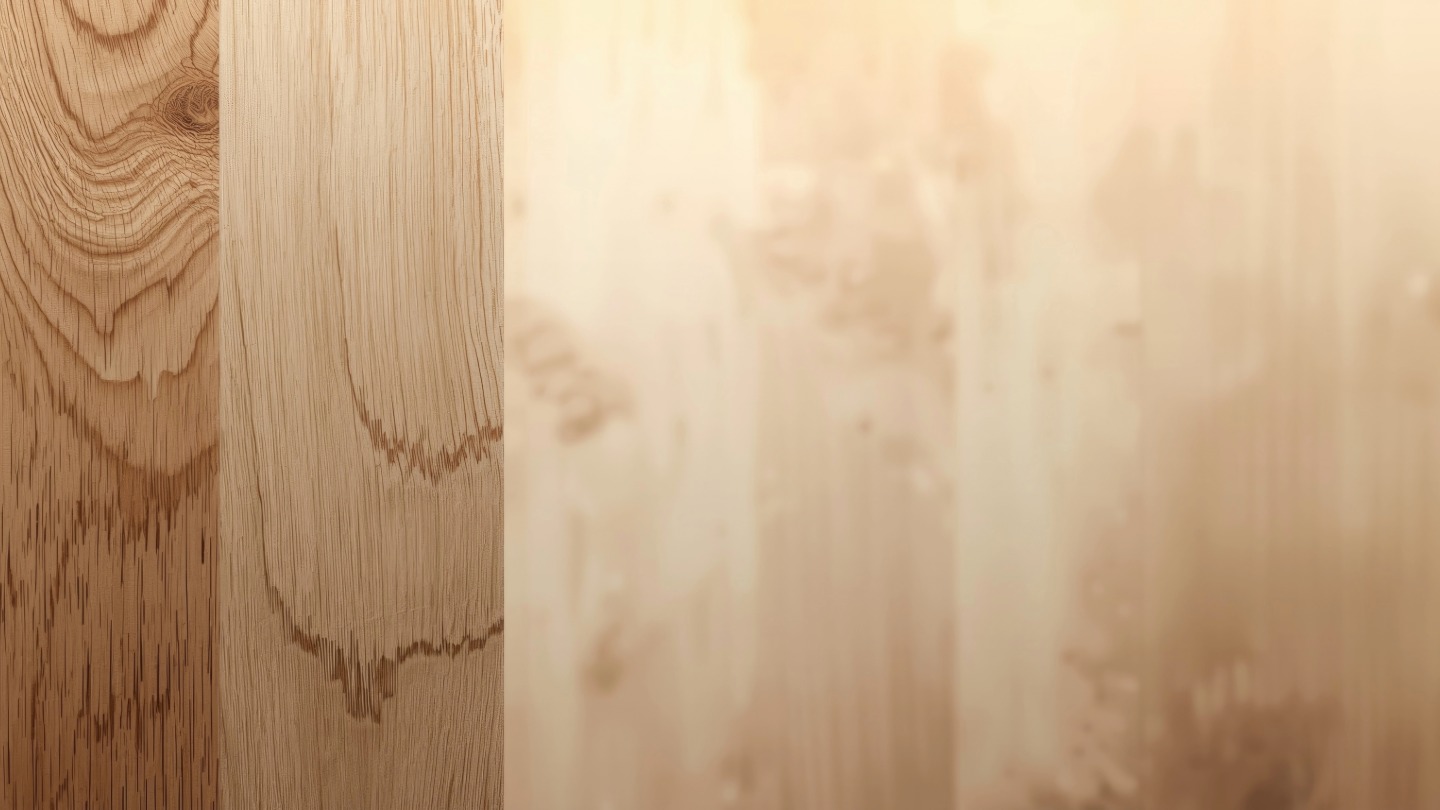
Getting the PU Surface Ready
Polyurethane (PU) surfaces are pretty common in sports halls, and they’re great for a lot of reasons, but they can be a bit picky when it comes to paint sticking. Think of it like trying to paint over a greasy pan – it just won’t take properly. So, the first step is to make sure the surface is totally clean and free from anything that could stop the paint from bonding.
Cleaning Techniques for Optimal Adhesion
Getting the PU surface ready involves a good clean. You’re not just dusting it off; you need to get rid of any oils, old polish, sweat, or general grime that’s built up. A good degreaser designed for PU floors is your best friend here. You might need to do a couple of passes.
Here’s a rough idea of what to do:
- Initial Sweep: Get rid of all loose dirt and debris with a soft broom or a good vacuum cleaner.
- Degreasing: Apply a suitable PU floor degreaser. Work it into the surface with a soft mop or a floor scrubber if you have one. Don’t let it dry on the surface.
- Rinsing: Thoroughly rinse the floor with clean water. You want to remove all traces of the degreaser. Again, don’t let the water sit for too long.
- Drying: This is absolutely key. The floor needs to be bone dry before you even think about painting.
The Importance of a Dry Surface
Seriously, I can’t stress this enough: the surface must be completely dry. Any moisture trapped underneath the paint will cause it to bubble, peel, or lose its grip. It’s like trying to build a house on wet sand – it’s just not going to last. Give it plenty of time to air dry, or use fans to speed things up if you’re in a hurry. Check in corners and edges where moisture can linger. A damp surface is the enemy of durable floor markings.
Paint Application Techniques for Indoor Cricket
So, you’ve prepped your PU surface and picked out the perfect paint. Now comes the fun part: actually getting those lines down! It might seem straightforward, but how you apply the paint makes a massive difference to how long it lasts and how good it looks. Let’s get into it.
Selecting the Best Application Method
There are a few ways to get paint onto your indoor cricket floor, and each has its pros and cons. For most indoor cricket centres, especially those with PU surfaces, you’ll want something that gives you control and a clean finish. Roller application is a popular choice for larger areas, but for those sharp crease lines, you need something more precise.
- Brush Application: Good for detail work and getting right into corners. You’ll need a steady hand, though!
- Roller Application: Best for covering larger sections quickly, but you’ll need masking tape to keep lines sharp.
- Spray Application: Can give a very even finish, but requires careful masking and can be tricky indoors with ventilation.
For cricket creases, a combination of masking tape and a good quality roller or a fine brush is often the way to go. The key is to work methodically and avoid rushing.
Achieving Crisp, Clean Lines
Nobody wants wobbly or fuzzy lines on their cricket pitch. Getting them sharp is all about preparation and technique. First off, good quality masking tape is your best friend. Make sure it’s firmly stuck down all along the edge of where you want your line to be. Press it down really well, especially at the edges, to stop paint from seeping underneath. Then, apply your paint in thin, even coats. Trying to get it all done in one thick layer often leads to drips and bleeding. A second, thinner coat is usually better than one heavy one.
Remember, the surface of PU can be a bit forgiving, meaning paint can sometimes spread if applied too thickly or if the tape isn’t sealed properly. Patience is key here.
Layering for Enhanced Durability
Think of applying paint like building layers. A single coat might look okay initially, but it won’t stand up to the constant foot traffic and cleaning that an indoor cricket pitch gets. Applying multiple thin layers allows each coat to cure properly, creating a stronger, more resilient finish. This is especially true if you’re using a standard paint. If you’re going for something more advanced, like a two-part epoxy, the layering principle still applies, but the chemical bonding between layers adds even more strength.
Here’s a rough idea of what to aim for:
- First Thin Coat: Apply a light coat to establish the base colour and get coverage.
- Second Thin Coat: Once the first coat is touch-dry, apply another thin layer. This builds opacity and starts adding thickness.
- Third Thin Coat (Optional but Recommended): For high-traffic areas like creases, a third coat provides that extra bit of protection and depth.
Always check the paint manufacturer’s instructions for drying times between coats. Rushing this step can compromise the entire job.
Advanced Solutions for Permanent Indoor Cricket Floor Markings
Exploring Two-Part Epoxy Paints
So, you’ve prepped the surface, you’ve applied your base coats, and now you’re thinking about how to make these lines really stick around. Standard paints can be a bit flaky, especially with all the foot traffic and sliding that happens on an indoor cricket pitch. That’s where two-part epoxy paints come into play. These aren’t your average DIY store tins. They’re a mix of a resin and a hardener, and when you combine them, a chemical reaction happens. This reaction creates a super tough, durable finish that’s way more resistant to scuffs, chemicals, and general wear and tear than single-part paints.
Think of it like mixing two ingredients to bake a cake – you need both to get the final product. The curing process for epoxy is a bit slower than regular paint, but the payoff is a surface that can take a beating. It’s a bit more work to mix and apply, and you’ve got a limited pot life once mixed, so you need to be organised. But for lines that need to last, this is a serious contender.
Considering UV-Cured Coatings
Another option for making your markings last is UV-cured coatings. These are pretty high-tech. The paint itself contains special photoinitiators. When you shine a UV light over the freshly applied paint, it triggers a rapid curing process. We’re talking seconds, not hours or days. This means you can get your lines down and have the area back in use pretty quickly, which is a big plus for busy sports centres.
These coatings are known for their incredible hardness and resistance to abrasion. They form a very strong bond with the PU surface. The main thing here is having the right UV curing equipment, which can be an investment. It’s definitely a more industrial approach, but if you’re looking for the absolute toughest, quickest-drying solution, UV curing is worth a look.
The Role of Sealants and Topcoats
Even with the best paint, sometimes you want an extra layer of protection. That’s where sealants and topcoats come in. A good sealant can help the paint bond better to the PU surface in the first place, filling in any tiny imperfections. Then, a clear topcoat acts like a shield. It takes all the wear and tear, protecting the coloured line underneath.
These topcoats can also add other benefits, like making the surface easier to clean or even adding a bit of grip. It’s like putting a clear protective film over a phone screen – it keeps the main part looking good for longer.
- Sealants: Prepare the surface for paint adhesion.
- Topcoats: Provide a sacrificial layer against abrasion.
- Combined Systems: Some products offer both sealing and topcoat properties.
Using a good quality sealant before painting and a durable topcoat afterwards can significantly extend the life of your indoor cricket crease markings, saving you time and money on reapplication in the long run. It’s an extra step, sure, but one that pays off.
Maintaining Your Indoor Cricket Floor Markings
Right then, so you’ve gone and got your indoor cricket crease looking sharp. Brilliant! But, you know, it’s not a ‘set it and forget it’ kind of deal. To keep those lines looking good and lasting ages, you’ve got to give them a bit of TLC. Think of it like looking after your favourite pair of trainers – a bit of cleaning and care goes a long way.
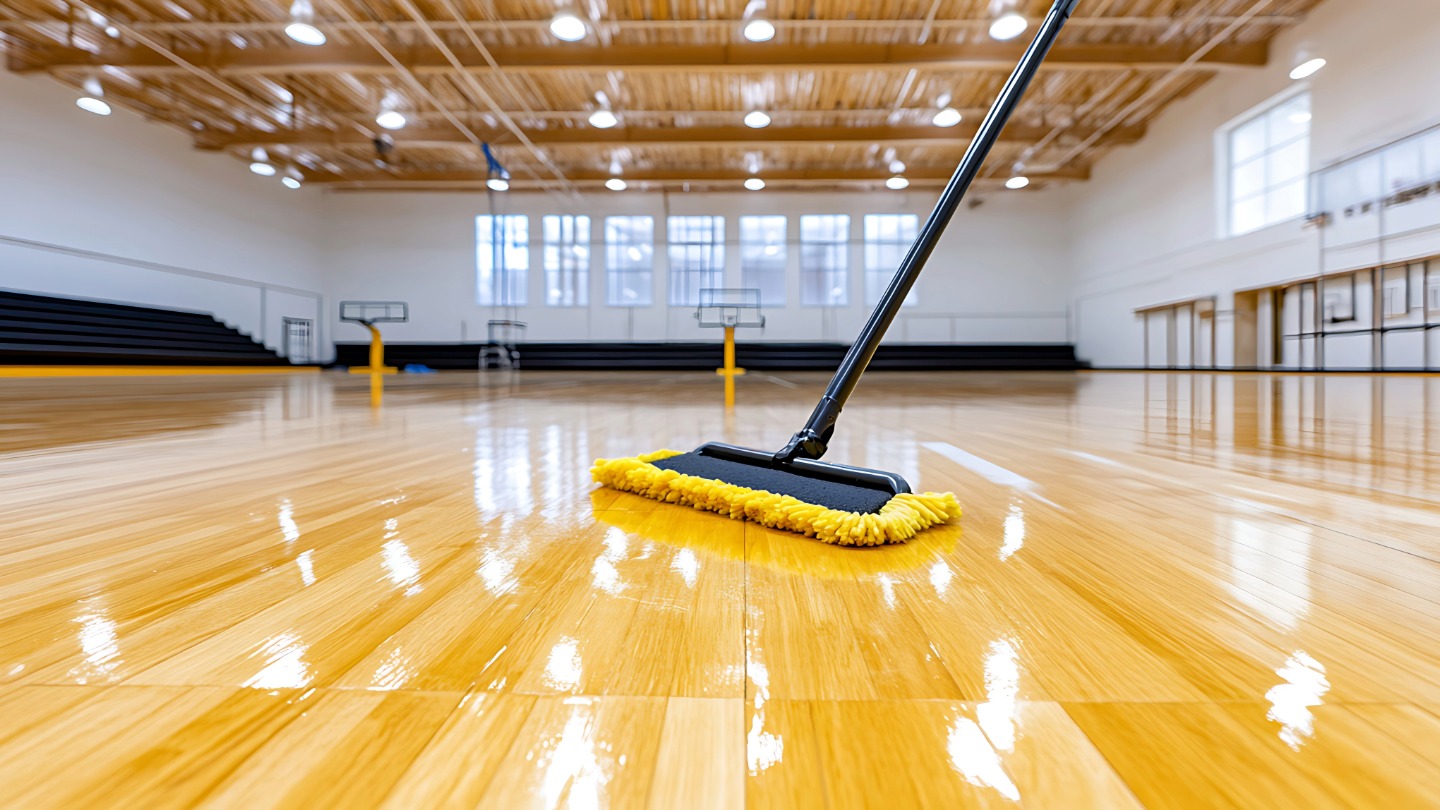
Regular Cleaning Routines
This is probably the most important bit. You don’t want dirt and grit grinding into the paint, do you? That’s a fast track to wear and tear. So, get into a habit of giving the crease area a good sweep or vacuum after every session. For a deeper clean, a damp mop with a mild cleaning solution is your best mate. Just make sure it’s not too wet, and let the floor dry completely before anyone steps on it again. Avoid anything too harsh, like abrasive cleaners or strong chemicals, as they can really damage the PU surface and the paint itself.
- Sweep or vacuum regularly to remove loose debris.
- Use a damp mop with a pH-neutral cleaner for weekly or bi-weekly cleaning.
- Always allow the floor to air dry completely before use.
Spot Repairs and Touch-Ups
Even with the best care, you might get the odd scuff mark or a tiny bit of paint chipping, especially in high-traffic areas. Don’t let these little things turn into big problems. If you spot a bit of damage, sort it out sooner rather than later. A quick touch-up with the original paint can make a world of difference. It stops the damage from spreading and keeps the whole crease looking uniform. It’s way easier to fix a small patch than to repaint a whole line later on.
Little and often is the name of the game here. Catching minor issues early saves you a heap of hassle down the line and keeps your playing surface looking professional.
Preventing Wear and Tear
This is all about being a bit proactive. Think about what’s causing the most wear. Is it the players’ shoes? Are they dragging their feet? Sometimes, just a quick reminder to players about looking after the floor can help. Also, consider if there are any areas that get hammered more than others. If so, maybe you can rotate where certain activities happen, if that’s even possible in your setup. The goal is to spread the load and minimise friction on the painted lines. It might sound like a faff, but a little bit of thought now means your markings will be looking good for a lot longer, saving you time and money in the long run.
Common Pitfalls to Avoid with Indoor Cricket Markings
Right, let’s talk about what can go wrong when you’re trying to get those cricket crease lines looking sharp and lasting on your indoor PU surface. It’s not rocket science, but there are definitely a few common slip-ups that can turn your hard work into a bit of a mess. Getting it wrong means you’ll be redoing it sooner than you’d like, and nobody wants that.
Using the Wrong Type of Paint
This is a big one. You might think any old paint will do, but that’s just not the case, especially on PU. These surfaces can be a bit picky. Using a paint that isn’t designed for sports flooring, or specifically for PU, is asking for trouble. It might not stick properly, it could peel off after a few weeks, or worse, it might actually damage the PU surface itself. We’ve seen paints that just don’t flex with the surface, leading to cracks and chips. Always check that your paint is compatible with polyurethane sports flooring.
Inadequate Surface Preparation
Honestly, this is probably the most common reason for markings not sticking. If you don’t prep the PU surface properly, the paint has nothing good to grab onto. It’s like trying to stick a poster on a dusty wall – it just won’t stay put. You need to make sure the area is spotlessly clean and free from any grease, dirt, or old polish. Even a tiny bit of residue can ruin the adhesion. Think of it as giving the paint a really clean handshake with the floor.
Ignoring Manufacturer Guidelines
This sounds obvious, doesn’t it? But you’d be surprised how many people just wing it. The people who made the paint and the people who made the floor usually have a good idea of how they’re supposed to work together. They’ll tell you the best way to apply the paint, how long to let it dry, and what conditions are best. Skipping these instructions is like ignoring the recipe when you’re baking – you might end up with something edible, but it’s probably not going to be great.
Here are a few more things to watch out for:
- Applying paint in the wrong temperature or humidity: Some paints need specific conditions to cure properly. Too cold, too hot, or too damp, and you’re asking for problems.
- Not allowing enough drying time between coats: Rushing this can lead to smudging, poor adhesion, and a weak finish.
- Using the wrong application tools: A brush might be okay for a tiny touch-up, but for lines, you need the right kind of applicator to get clean, consistent results.
Sometimes, the simplest solutions are overlooked. People get excited about getting the lines down, but the prep work and choosing the right materials are the real heroes here. Don’t cut corners on these steps if you want your markings to last.
It’s all about patience and using the right stuff for the job. Get these basics right, and you’ll be well on your way to having markings that look good and stay put for ages.
When setting up indoor cricket courts, it’s easy to miss a few things. Forgetting to mark the boundaries correctly or using the wrong type of paint can cause problems later on. These small mistakes can really affect how the game is played. Make sure you get the details right from the start! For expert advice and top-quality markings, visit our website today.
So, What’s the Takeaway?
Right then, getting those crease lines to stick on PU surfaces for indoor cricket isn’t exactly rocket science, but it does need a bit of thought. We’ve looked at how the paint itself matters, and how prepping the floor properly makes a massive difference. It’s all about picking the right stuff and doing it right the first time. Get that sorted, and you won’t be re-painting every other week. Makes sense, doesn’t it? Saves time, saves hassle, and keeps the game flowing. Happy marking!
Frequently Asked Questions
Why do indoor cricket lines need to be so tough?
Think about it – all that running, sliding, and quick turns! Cricket lines get a serious workout. We want them to stay bright and clear, not fade or peel away after just a few games. Good lines help everyone know where they are on the pitch, making the game fair and fun for all.
What’s so tricky about painting on PU surfaces?
PU, or polyurethane, is a type of plastic that’s often used for sports floors because it’s bouncy and durable. But, it can be a bit slippery for paint to stick to if you don’t prepare it properly. It’s like trying to paint on a waxy apple – the paint might just slide off!
What kind of paint is best for these lines?
You can’t just grab any old paint from the shed. For PU surfaces, you’ll want a special paint that’s designed to stick well. Often, this means looking for paints that are a bit flexible, so they don’t crack when the floor flexes a little. Sometimes, a two-part paint is the way to go for super strength.
How do I make sure the paint actually sticks?
The most important step is getting the floor super clean and maybe even a bit rough. Imagine you’re getting ready to stick a sticker on something – you wipe it clean first, right? For PU floors, you might need to give it a light scrub or use a special cleaner to make sure there’s no grease or dirt stopping the paint from grabbing on.
Can I just roller the lines on?
While a roller might seem quick, it’s usually not the best for getting those super sharp, straight lines you see in cricket. Special tools like line markers or even stencils are often used. Applying thin, even coats is key, and sometimes doing a couple of layers makes the lines last much longer.
What if my lines start looking a bit worn?
Don’t panic! Most of the time, you can fix up small worn spots. It usually involves cleaning the area really well and then carefully touching up the line with the same type of paint. Keeping the floor clean in general will also help stop the lines from getting damaged in the first place.