Keeping a maple basketball floor in top shape in Manchester isn’t just about sweeping up. Over time, these floors take a real beating, and that’s where regular Periodic Sanding Needs come in. It’s not just about making them look good; it’s about keeping them safe for players and making them last for ages. So, let’s talk about why sanding is so important and what you need to know to get it right.
Key Takeaways
- Maple basketball floors need regular sanding to stay safe and last a long time.
- Different sanders work for different jobs; picking the right one is important.
- Commercial floors, like those in sports halls, have different needs than smaller, residential ones.
- Getting a perfect finish means using the right sanding steps and sealing the floor properly.
- Always put safety first when sanding; wear gear and make sure the area is well-aired.
.
Understanding Periodic Sanding Needs

When it comes to maintaining maple basketball floors in Manchester, understanding the periodic sanding needs is absolutely vital. It’s not just about aesthetics; it’s about performance, safety, and the longevity of the floor itself. Let’s get into the nitty-gritty of what this entails.
Assessing Floor Damage and Wear
First things first, you need to properly assess the state of the floor. Is it just minor scuffs and scratches, or are we talking about deep gouges and worn-out varnish? The level of damage dictates the type of sanding required. Light wear might only need a gentle orbital sander, while significant damage calls for something more robust, like a belt or drum sander. Consider these points:
- Frequency of use: How often is the floor used for basketball or other activities?
- Type of use: Is it primarily for professional games, amateur leagues, or recreational use?
- Maintenance history: When was the floor last sanded and sealed?
.
Considering the Project’s Scale
The size of the area you’re sanding is a big factor. A small section of the court might be manageable with a smaller, more portable sander. However, if you’re dealing with the entire basketball court, you’ll need larger, more powerful equipment to get the job done efficiently. It’s also worth thinking about the layout of the space. Are there tight corners or edges that will require special attention? Edging sanders are your friend here!
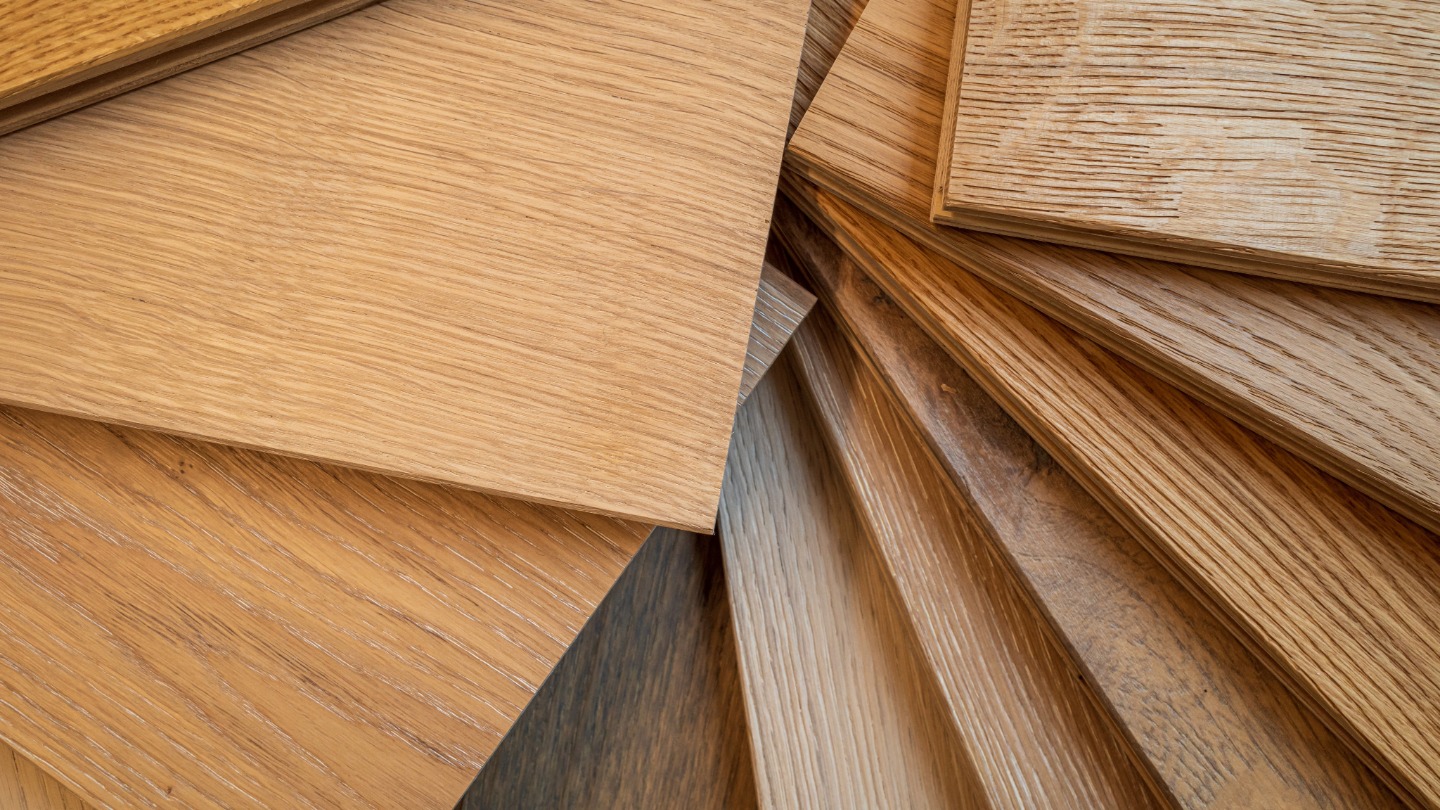
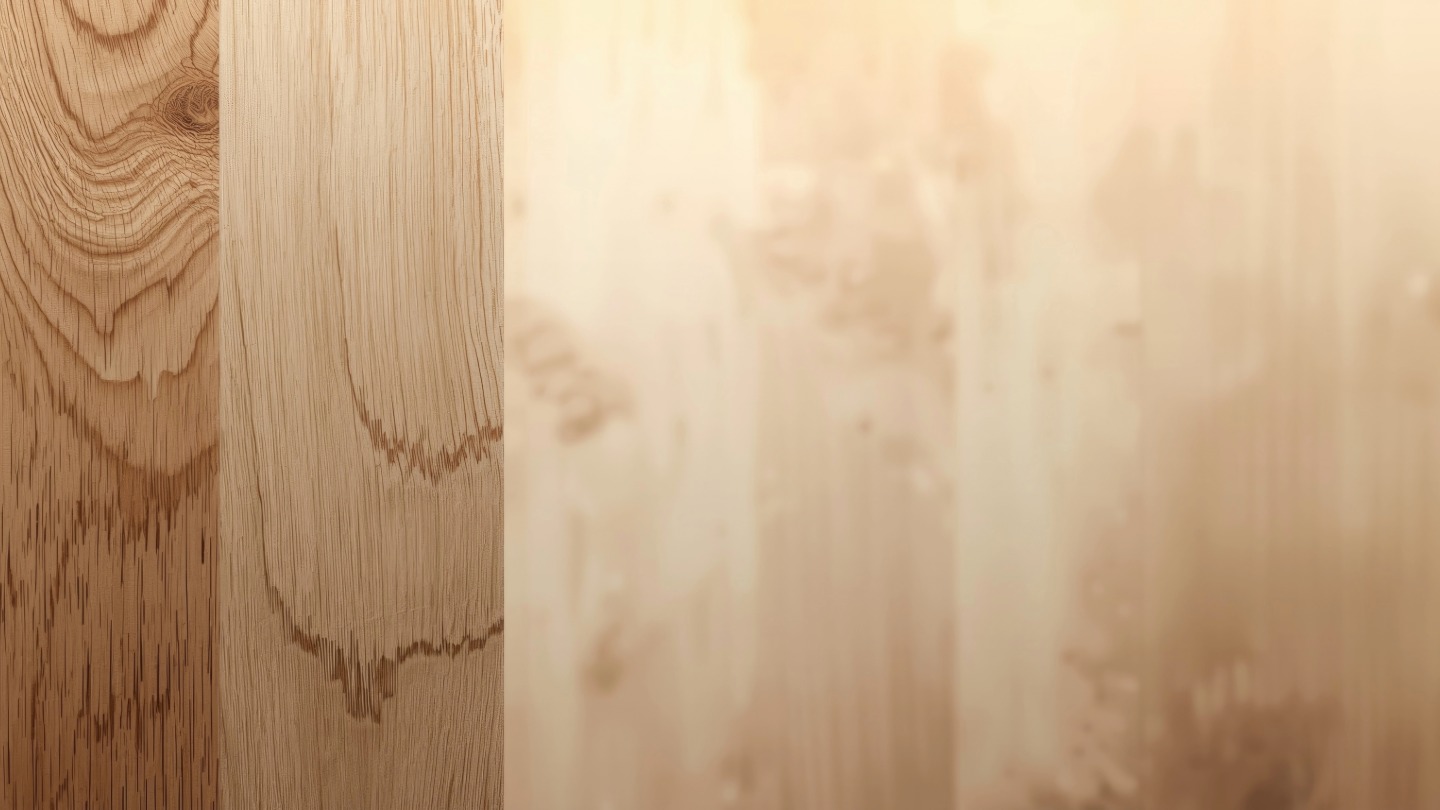
Matching Sander to Wood Type
Maple is a hardwood, but not all hardwoods are created equal. The density and grain of the wood will influence the type of sander and grit you should use. A drum sander on a delicate timber can be overkill. On the flip side, an orbital sander might require several passes on tough oak floors. Getting this right is crucial to avoid damaging the floor and achieving a smooth, even finish.
It’s easy to underestimate the importance of matching the sander to the wood type. Using the wrong equipment can lead to uneven sanding, swirl marks, and even damage to the floor. Always do your research and consult with a professional if you’re unsure.
Key Types of Floor Sanders
When it comes to sanding maple basketball floors, selecting the right sander is vital. Different sanders excel in different areas, so understanding their strengths is key to achieving a professional finish. It’s not just about grabbing the first machine you see; it’s about matching the tool to the task. Let’s explore the main types you’ll encounter.
Powerful Belt Sanders
Belt sanders are the heavy hitters of the sanding world. They use a continuous loop of sandpaper that moves rapidly, making them ideal for quickly removing old finishes or levelling uneven surfaces. If your basketball floor has layers of old varnish or significant wear, a belt sander can save you a lot of time and effort. However, they can be aggressive, so it’s important to keep the sander moving and avoid dwelling in one spot to prevent gouging the wood. They are best suited for large, open areas where you need to remove a lot of material quickly. For sports flooring material like maple, you’ll want to use a finer grit belt to avoid damage.
Robust Drum Sanders
Drum sanders are another type of powerful machine designed for tackling large areas. They feature a rotating drum wrapped in sandpaper, making them efficient at removing old finishes and levelling floors. Drum sanders are particularly useful for floors that haven’t been sanded in years and have significant imperfections. However, like belt sanders, they require a steady hand and careful operation to avoid damaging the wood. Due to their power, drum sanders are generally better suited for experienced users or professionals.
Gentle Orbital Sanders
Orbital sanders are the more forgiving option, ideal for achieving a smooth, even finish. Instead of a rotating drum or belt, they use a sanding pad that moves in small, circular motions. This makes them less aggressive than belt or drum sanders, reducing the risk of accidentally damaging the floor. Orbital sanders are great for removing light scratches, smoothing out imperfections, and preparing the floor for finishing. They are also easier to control, making them a good choice for DIYers or those with less experience. While they may take longer to remove heavy finishes, the added control and reduced risk of damage make them a popular choice for many floor sanding projects.
Precise Edging Sanders
Edging sanders are specifically designed to reach those tricky areas that larger sanders can’t, such as along walls, in corners, and under radiators. These sanders typically use a smaller, rotating disc or pad to sand right up to the edge of the room, ensuring a consistent finish throughout the entire floor. Edging sanders are an essential tool for achieving a professional-looking result, as they allow you to blend the edges seamlessly with the rest of the floor. They are often used in conjunction with other types of sanders to complete the job.
When sanding a maple basketball floor, it’s important to choose the right type of sander for each stage of the process. Start with a more aggressive sander to remove old finishes and level the surface, then switch to a finer sander to smooth out imperfections and prepare the floor for finishing. Always use the appropriate grit sandpaper and take your time to avoid damaging the wood.
Commercial Versus Residential Requirements
It’s easy to think that sanding is sanding, but the truth is, what works for your living room floor might not cut it in a busy commercial space. The demands are just different. Let’s break down what those differences are.
High-Traffic Commercial Spaces
Commercial spaces, like shops and restaurants, see a lot more foot traffic than your average home. This means the floors need to be tougher and more resistant to wear and tear. Think about it: spilled drinks, constant chair scraping, and just the sheer number of people walking around all day. You’ll need a finish that can handle that kind of abuse. Regular commercial floor sanding is often a must to keep things looking good and prevent accidents.
Community and Sports Facilities
Community centres, sports halls, and gyms have their own unique challenges. These spaces often host a variety of activities, from sports to events, which means the floors need to be versatile and durable.
Here’s what you need to consider:
- Impact resistance: Think about dropped weights or sports equipment.
- Slip resistance: Important for safety, especially in sports areas.
- Easy maintenance: Large spaces need to be cleaned quickly and efficiently.
.
The type of wood used in these spaces is also important. For example, maple is a popular choice for basketball courts because it’s hard and durable. But even maple needs regular sanding and refinishing to maintain its performance and safety.
Specialised Commercial Environments
Some commercial spaces have very specific needs. For example, a dance studio might need a floor that’s sprung to reduce the risk of injury. A museum might need a floor that’s both beautiful and durable, but also doesn’t reflect too much light. And don’t forget about church floor sanding, where you need to preserve the building’s character. These environments require a more tailored approach to sanding and finishing.
Here’s a quick comparison table:
| Feature | Residential | Commercial |
|---|---|---|
| Foot Traffic | Low to Medium | High to Very High |
| Wear and Tear | Moderate | Significant |
| Maintenance | Less Frequent | More Frequent |
| Special Needs | Few | Often Specific to the Environment |
| Finish Durability | Standard | High |
Achieving a Flawless Finish
Getting that perfect, smooth finish on a maple basketball floor isn’t just about sanding; it’s about the art of sanding. It’s a process that demands patience, precision, and a good understanding of the materials you’re working with. Messing it up can lead to visible scratches, uneven surfaces, and a finish that just doesn’t look right. So, let’s get into the nitty-gritty of how to achieve a finish that’ll make your Manchester basketball court shine.
Optimal Sanding Grit Sequences
The key to a flawless finish lies in using the right sequence of sanding grits. Starting with a grit that’s too fine won’t effectively remove old finishes or level the floor. Conversely, starting with something too coarse can leave deep scratches that are difficult to remove. Here’s a general guideline:
- Start with a coarse grit (e.g., 36-40) to remove the existing finish and level any imperfections. This is where you’ll tackle the big stuff – old varnish, deep scratches, and uneven boards.
- Move to a medium grit (e.g., 60-80) to smooth out the scratches left by the coarse grit. This step is crucial for creating a uniform surface.
- Finish with a fine grit (e.g., 100-120) to achieve a silky-smooth surface ready for sealing or varnishing. This is where you refine the surface and prepare it for the final coat.
.
Skipping grits is a common mistake that can lead to visible scratch marks. It’s like trying to paint a wall without priming it first – the end result just won’t be as good. If you are unsure, consider refinishing sports hall flooring with professional help.
Effective Dust Containment
Dust is the enemy of a flawless finish. Not only is it a health hazard, but it can also contaminate your finish, leading to a rough, uneven surface. Effective dust containment is essential for a professional-looking result. Here are some tips:
- Use a sander with a built-in dust extraction system. Modern sanders are equipped with powerful vacuums that collect dust as you sand.
- Seal off the area to prevent dust from spreading to other parts of the building. Use plastic sheeting and tape to create a barrier.
- Wear a dust mask to protect yourself from inhaling wood dust. It’s not just about the finish; it’s about your health.
.
Proper ventilation is also important, especially when using solvent-based finishes. Open windows and use fans to circulate air. This will help to remove fumes and prevent them from building up to dangerous levels.
Selecting the Right Seal or Varnish
The final step in achieving a flawless finish is selecting the right seal or varnish. This is what will protect the wood and give it its final look. There are many different types of seals and varnishes available, each with its own advantages and disadvantages. Here are a few things to consider:
- Water-based finishes: These are low in VOCs (volatile organic compounds), dry quickly, and have minimal odour. They’re a good choice for environmentally conscious projects.
- Oil-based finishes: These penetrate the wood deeply, providing excellent protection and enhancing the natural grain. They tend to have a richer, warmer look than water-based finishes.
- Polyurethane finishes: These are extremely durable and resistant to scratches and wear. They’re a good choice for high-traffic areas like basketball courts. Consider a professional floor sander UK for the best results.
.
Always test the seal or varnish on a small, inconspicuous area before applying it to the entire floor. This will allow you to see how it looks and how it interacts with the wood. It’s better to make a mistake on a small area than on the entire floor.
Essential Safety Measures for Periodic Sanding Needs

Floor sanding, while effective for restoring maple basketball floors, isn’t without its risks. Prioritising safety is paramount to prevent injuries and ensure a healthy working environment. Let’s run through some must-do’s.
Mandatory Protective Gear
Always wear appropriate protective gear. This includes:
- A properly fitted dust mask or respirator to avoid inhaling fine wood dust. Prolonged exposure can lead to respiratory problems.
- Safety goggles to shield your eyes from flying debris. Wood splinters and dust particles can cause serious eye irritation or injury.
- Ear defenders or earplugs to protect your hearing from the loud noise generated by sanding equipment. Extended exposure to high noise levels can result in hearing damage.
- Gloves to protect your hands from splinters and abrasions. Sanding can be tough on your hands, so gloves are a must.
- Sturdy footwear to protect your feet from falling objects and provide good grip. Avoid wearing open-toed shoes or sandals.
.
Ensuring Proper Ventilation
Good ventilation is vital to minimise dust exposure. Here’s how to achieve it:
- Open windows and doors to create a cross-breeze. This helps to circulate fresh air and remove dust particles from the work area.
- Use a dust extraction system connected to your sander. Many modern sanders come equipped with built-in dust extraction, which significantly reduces airborne dust.
- If a dust extraction system isn’t available, consider using a portable air purifier with a HEPA philtre. This will help to capture fine dust particles that escape the sanding process.
- Regularly vacuum the work area to remove accumulated dust. Use a vacuum cleaner with a HEPA philtre to prevent dust from being recirculated into the air.
.
It’s important to remember that even with good ventilation, some dust exposure is inevitable. Therefore, wearing a dust mask or respirator is still essential.
Adhering to Electrical Safety
Sanding equipment often requires significant power, so electrical safety is crucial. Here are some key precautions:
- Ensure the power outlet you’re using is properly grounded. This helps to prevent electric shock in case of a fault.
- Use extension cords that are rated for the amperage of your sanding equipment. Undersized extension cords can overheat and pose a fire hazard.
- Inspect power cords for damage before each use. Replace any cords that are frayed or have exposed wires.
- Never operate sanding equipment in wet or damp conditions. Water and electricity are a dangerous combination.
- Avoid overloading circuits by plugging too many devices into the same outlet. This can cause the circuit breaker to trip or, in severe cases, start a fire. If you need sports flooring maintenance, consider hiring a professional.
.
Post-Sanding Maintenance Tips
So, you’ve just had your maple basketball floor sanded. Great! But the work doesn’t stop there. Proper maintenance is vital to keep it looking its best and to extend its lifespan. Neglecting aftercare can quickly undo all the hard work and investment. Here’s how to keep your floor in top condition:
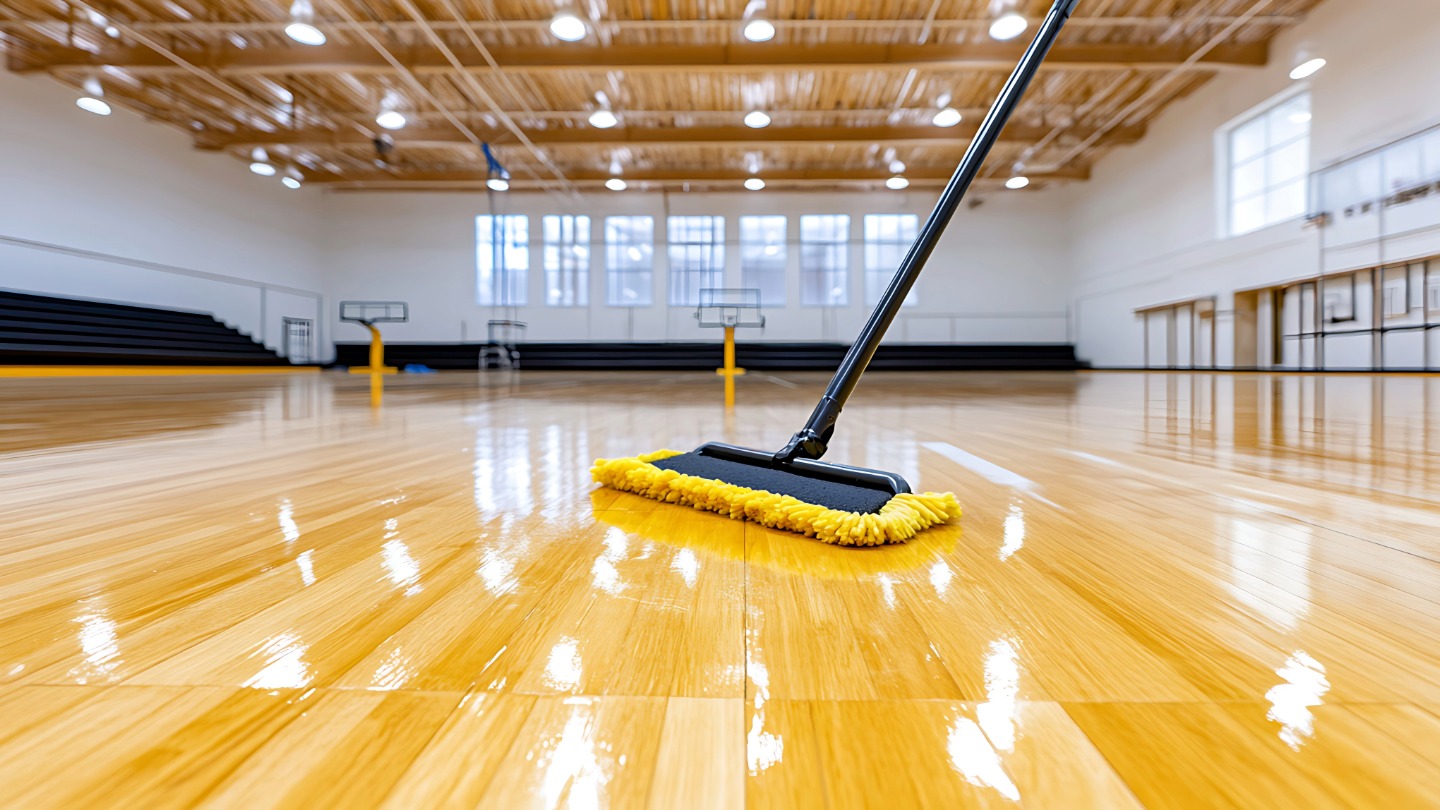
Regular Cleaning Practises
Regular sweeping and vacuuming are your first line of defence. Dirt and grit act like sandpaper underfoot, causing scratches over time. Aim to sweep or vacuum daily, especially in high-traffic areas. Use a soft-bristled brush or a vacuum with a floor attachment to avoid scratching the surface. Don’t use a vacuum with a beater bar, as this can damage the finish.
Utilising Protective Pads
Felt pads are a game-changer. Place them under the legs of chairs, tables, and any other furniture that might move across the floor. These pads prevent gouges and scratches, especially when furniture is dragged or shifted. Check the pads regularly and replace them when they become worn or dirty. It’s a small investment that can save you a lot of heartache in the long run.
Choosing Appropriate Cleaning Products
When it comes to cleaning products, less is often more. Avoid harsh chemicals, abrasive cleaners, and anything that contains bleach or ammonia. These can strip away the finish and damage the wood. Instead, opt for pH-neutral wood cleaners specifically designed for hardwood floors. Always follow the manufacturer’s instructions and use a damp mop rather than a soaking wet one. Excess water can seep into the seams and cause warping.
Periodic Re-Coating for Longevity
Depending on the amount of traffic your basketball floor sees, you’ll need to re-coat it periodically. This involves applying a fresh layer of sealant or varnish to protect the wood and maintain its appearance. A re-coat can be done every few years, or more frequently in high-use areas. It’s a relatively simple process that can significantly extend the life of your floor. Consider these factors when deciding when to re-coat:
- Frequency of use
- Type of finish
- Visible wear and tear
.
Think of your maple basketball floor like a car. Regular maintenance, like oil changes and tyre rotations, keeps it running smoothly for years. Similarly, consistent cleaning, protective measures, and periodic re-coating will keep your floor looking great and performing well for years to come.
Why Professional Periodic Sanding Needs Matter
Let’s be real, tackling a maple basketball floor sanding project yourself can be tempting, but there are some serious advantages to bringing in the pros. It’s not just about saving your back; it’s about getting a superior, longer-lasting result. I mean, who wants to risk messing up a whole basketball court?
Unmatched Expertise and Experience
These guys have seen it all. Experience really does count when it comes to sanding floors. They know exactly what grit to use, how many passes are needed, and how to handle tricky spots. They can quickly assess the condition of your floor and tailor their approach accordingly.
Utilising Cutting-Edge Equipment
Professional floor sanding companies invest in top-of-the-line equipment. We’re talking about sanders with superior dust extraction systems, ensuring a cleaner and healthier environment. Plus, they have a range of machines to suit different floor types and project sizes. You’re not going to find that at your local hire shop.
Transparent Pricing and Customer Care
No one likes hidden costs. A reputable company will provide a clear, detailed quote upfront, so you know exactly what you’re paying for. They’ll also be on hand to answer any questions and address any concerns you may have throughout the process. It’s all about peace of mind, isn’t it?
Hiring professionals means you’re not just paying for a service; you’re investing in the longevity and appearance of your maple basketball floor. It’s about getting the job done right, the first time, with minimal disruption and maximum satisfaction.
Keeping your sports hall floor in top shape is super important, and regular sanding by pros makes a huge difference. It helps your floor last longer, keeps players safe, and makes the whole place look much better. Don’t let your sports floor get tired; find out more about how we can help on our website!
Wrapping Up
So, there you have it. Keeping a maple basketball floor in Manchester looking good and playing well isn’t just a one-off job. It’s more like a regular check-up, making sure everything’s in tip-top shape. You’ve got to think about how much the floor gets used, what kind of shape it’s in, and what sort of finish you want. Getting the timing right for sanding means your court stays safe and looks great for years. It’s all about being smart and consistent. If you’re not sure, or if it feels like too much hassle, getting some help from the pros is always a good shout. They know their stuff and can make sure your floor gets exactly what it needs.
Schedule a resand → Floor Refurbishment
Frequently Asked Questions
Which type of floor sander should I use for my maple basketball floor?
The best sander depends on your floor’s condition and the job’s size. For big areas with lots of damage, a powerful drum or belt sander works best. For lighter scratches or a smoother finish, an orbital sander is often better. Edging sanders are great for tricky spots near walls.
What safety gear do I need when sanding a floor?
Sanding a floor creates a lot of fine dust, which isn’t good for your lungs. Always wear a dust mask, safety glasses, and ear protection. Make sure the room has good airflow by opening windows and using fans. Also, be careful with electrical cords and make sure they’re in good shape and can handle the power needed for the sander.
What should I put on the floor after sanding?
After sanding, you’ll need to put a protective coat on the floor. This could be a seal, varnish, or lacquer. The best choice depends on how much traffic the floor gets and the look you want. Some products dry faster, while others offer more shine or protection. Always read the product’s instructions carefully.
How do I keep my newly sanded maple floor looking good?
For maple basketball floors, regular cleaning is key. Sweep or vacuum often to remove dirt and grit, which can scratch the surface. Use special cleaning products made for wood floors, not harsh chemicals. Also, consider putting protective pads under furniture to prevent marks.
Should I hire a professional for floor sanding?
Yes, it’s often a good idea to hire professionals, especially for large or badly damaged floors. They have special tools and lots of experience to get the job done right, often with less dust and a better finish. They can also help you choose the best products for your specific floor.
How long does it take to sand a maple basketball floor?
The time it takes depends on the floor’s size and how much work it needs. A small area with light scratches might only take a day, but a large basketball court needing a full overhaul could take several days or even longer. Professionals can give you a more accurate timeline after looking at your floor.