When it comes to putting your brand out there, you’ve got a couple of main ways to go: inlay logos or surface decals. Both have their own good points and bad points, and picking the right one really depends on what you’re trying to do, what your budget looks like, and how long you want that logo to stick around. This article will break down the different options for Branding Opportunities, from how they’re made to how they’re put on, helping you figure out the best fit for your products.
Key Takeaways
- Inlay branding involves putting the logo right into the product, often using methods like veneers or hollowed-out designs, which can make the logo feel like part of the item itself.
- Advanced injection moulding lets you create complex logos, sometimes even with two different materials or colours, or by making them light up, for a really integrated look.
- Laser engraving offers a way to put permanent marks on products, allowing for control over how deep the mark goes, which helps with how long it lasts.
- Surface decals, especially waterslide ones, are good for detailed pictures and can be used on lots of different surfaces, with opaque inks making sure the colours look right.
- How you put the logo on matters a lot for how well it works and how long it lasts; wet installation is good for bigger decals, while dry installation works better for smaller ones.
.
Understanding Inlay Branding Opportunities
Inlay branding offers a sophisticated way to integrate logos and designs directly into a product’s surface. It’s a step up from simple surface applications, providing a more durable and premium feel. Let’s explore the different techniques involved.
The Art of Inlay and Veneer Application
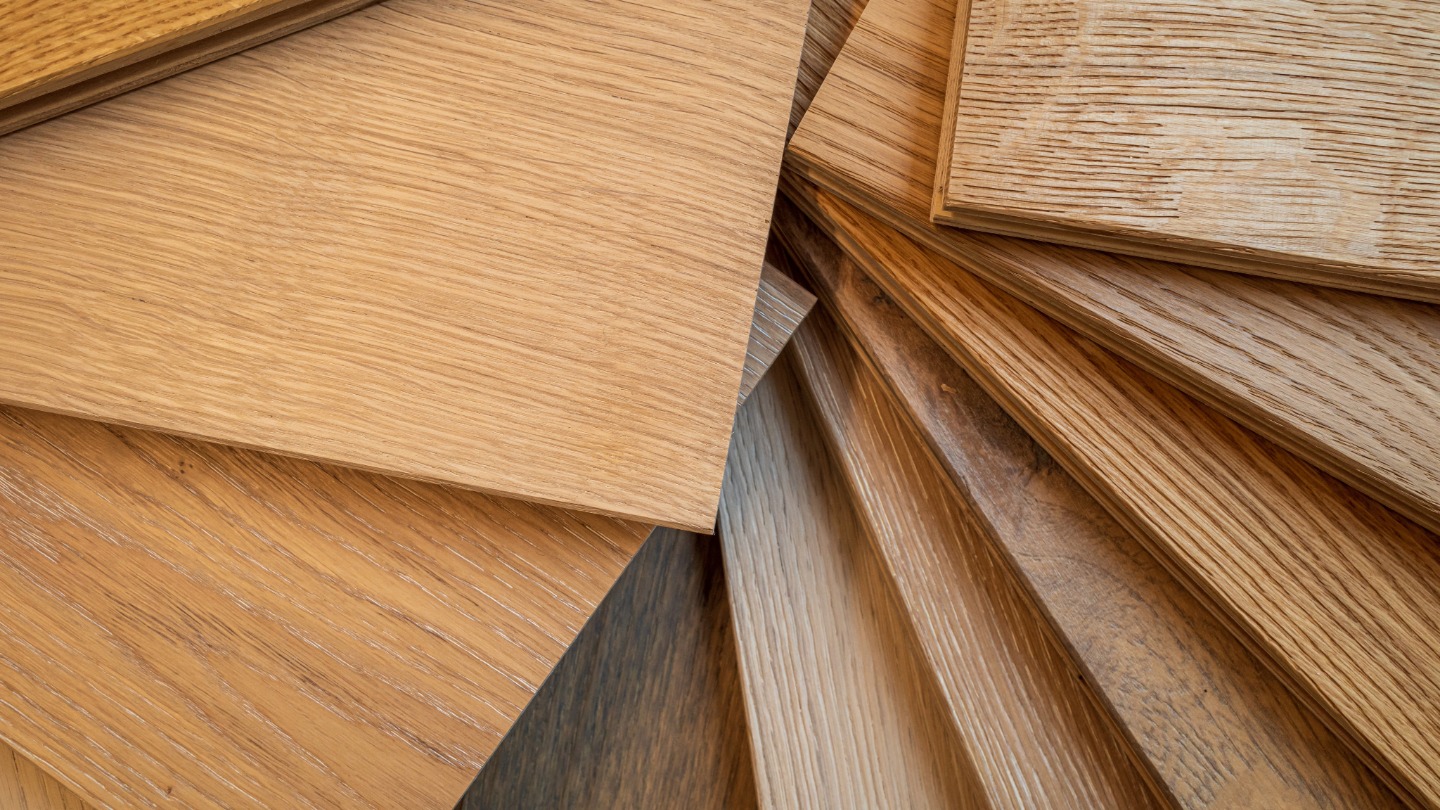
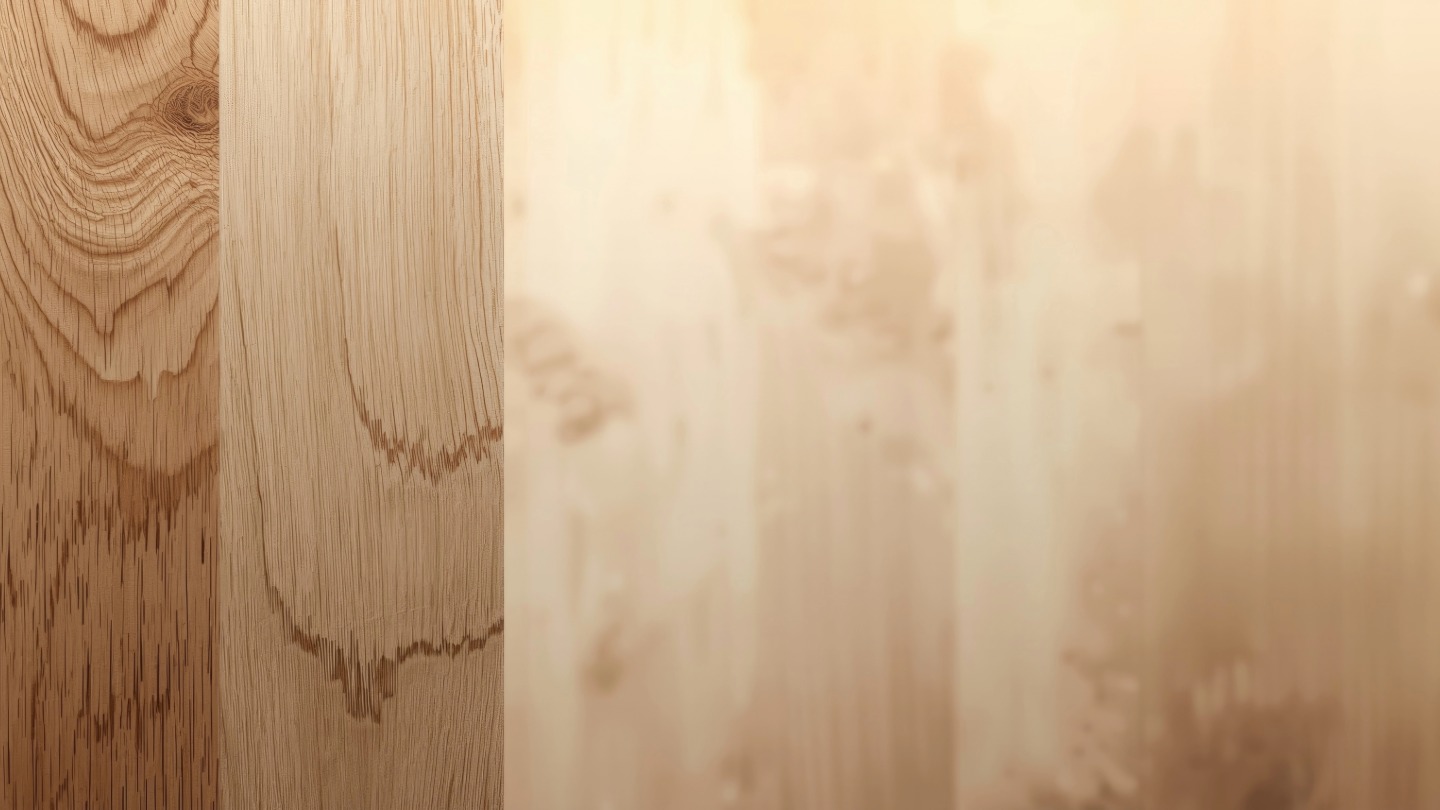
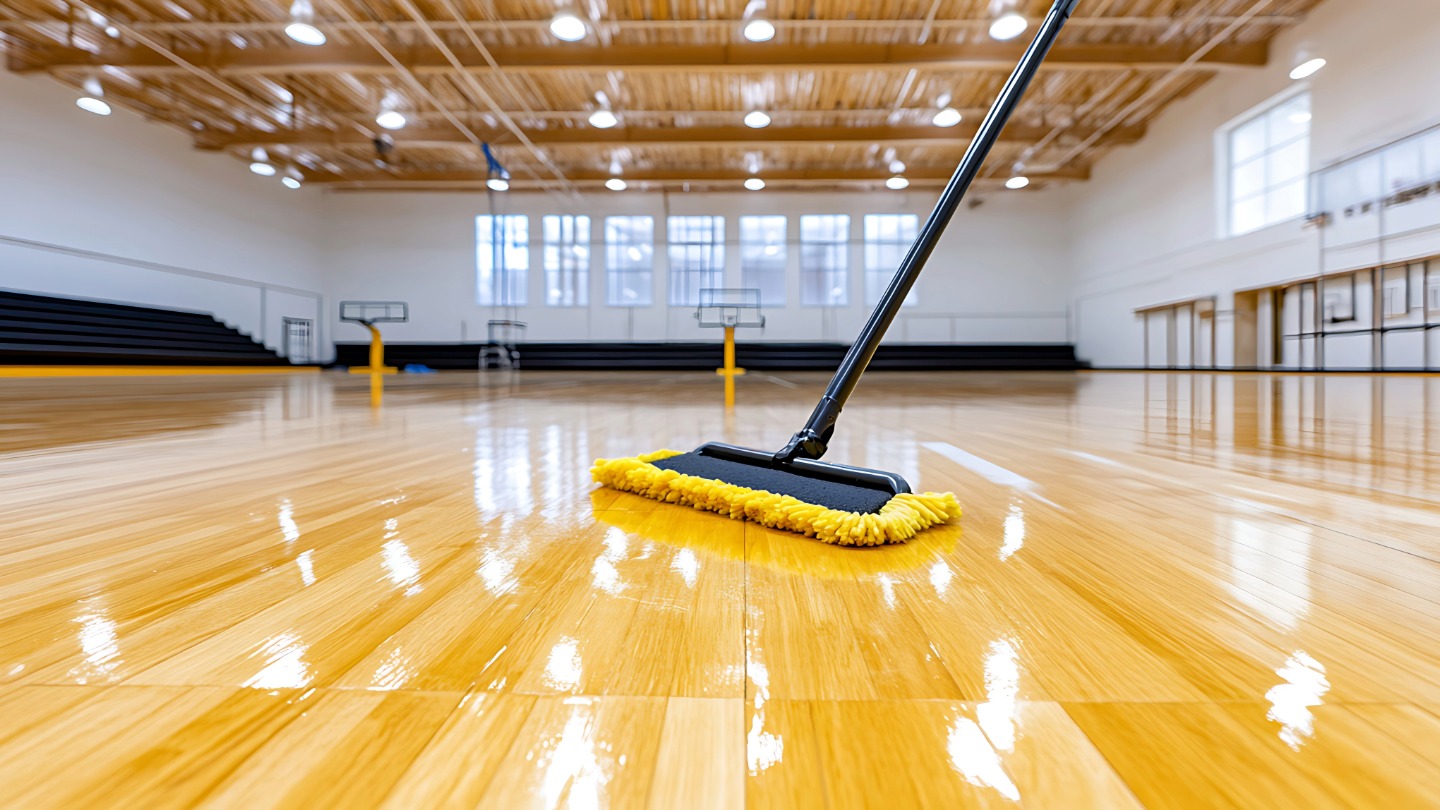
Inlay and veneer techniques involve embedding materials into a base surface. Inlays are precisely cut pieces fitted into a recess, while veneers are thin layers applied to the surface. Think of it like creating a mosaic, but on an industrial scale. The choice of materials is crucial; contrasting colours and textures can create striking visual effects. Veneers are great for adding a touch of luxury, like a wood grain effect on a plastic product. Inlays, on the other hand, can be used to create more complex designs with multiple colours and materials. For example, you could use sports hall floor installation to create custom branding with logos or colours.
Creating Depth with Hollowed-Out Designs
Hollowing out designs involves removing material to create a recessed area for the logo. This technique adds a tactile dimension to the branding, making it more noticeable. The depth of the recess can be varied to create different effects, from subtle indentations to more pronounced depressions. This method is often used in injection moulding, where the mould itself is designed with the hollowed-out area. It’s a great way to create a permanent and durable logo that won’t wear off over time.
Depressed Painting for Distinctive Logos
Depressed painting is a technique where paint is applied to a recessed area of a product. This method allows for precise colour application and creates a clean, professional look. The recessed area acts as a barrier, preventing the paint from bleeding or smudging. It’s a cost-effective way to add colour to an inlaid logo, and it can be used with a wide range of paint types. The key is to ensure the paint is durable and resistant to wear and tear.
Inlay branding offers a permanent and high-quality solution for integrating logos into products. It’s more expensive than surface decals, but the added durability and premium feel make it a worthwhile investment for brands looking to create a lasting impression.
Advanced Injection Moulding for Branding
Dual Injection Moulding for Complex Logos
Dual injection moulding? It’s a game-changer. Instead of messing about with multiple moulds or separate printing, you can inject two different colours (or even materials) into the same mould. This gives you a two-tone effect, perfect for more intricate logo designs. It’s like having a secret weapon for creating eye-catching branding. Think about the possibilities – different textures, contrasting colours, all in one go. It simplifies the whole process and can save a load of time and money in the long run. It’s worth considering if you want a custom logo that really pops.
Integrated Moulding for Seamless Branding
Integrated moulding is where the logo becomes part of the product itself. It’s either raised (convex) or sunken (recessed), making it a permanent feature. This approach is great because it’s durable and looks super clean. No worrying about decals peeling off or paint fading. The logo is literally built-in. It does mean you need to think about the design early on, as it affects the entire moulding process. But the result? A professional, high-quality finish that screams attention to detail. It’s a bit like those fancy sports flooring logos you see in gyms, but on a smaller scale.
Illuminated Logos with Light-Transmitting Materials
Imagine your logo, but it glows. That’s the power of using light-transmitting materials in injection moulding. By carefully selecting plastics that allow light to pass through, and then adding some clever backlighting, you can create logos that really stand out, especially in low-light conditions. It’s a fantastic way to add a touch of sophistication and modernity to your branding. Think about the impact of an illuminated logo on a product in a shop window at night. It’s not just a logo; it’s a beacon. Just make sure you get the injection moulded logo design right first!
Precision Branding Through Laser Engraving

Laser engraving offers a really precise way to add branding to products. It’s a surface treatment that uses lasers to create permanent marks on materials. Think of it like a high-tech etching process. It’s pretty cool, and it’s used on all sorts of things, from watches to industrial components.
Permanent Marks with Laser Technology
Laser engraving creates marks that are designed to last. The laser beam actually alters the surface of the material, making the branding resistant to wear and tear. Unlike some surface decals that can peel or fade, laser engraving becomes part of the product itself. It’s a great option when you need something that will stand the test of time.
Controlling Depth for Durable Branding
One of the big advantages of laser engraving is the level of control you have. You can adjust the laser’s power and speed to control the depth of the engraving. This means you can create subtle, shallow marks or deeper, more pronounced ones, depending on the effect you’re after. This control also contributes to the durability of the branding, as deeper engravings are less likely to be worn away.
Supplier Selection for Engraved Logos
Choosing the right supplier is key to getting good results with laser engraving. You want someone with experience and the right equipment. Look for a supplier who understands the different materials and laser techniques. A good supplier can advise you on the best approach for your specific logo and product. It’s worth doing your research to find someone who can deliver the quality you need.
Laser engraving is a good choice for branding when you need something that is both precise and durable. It offers a level of permanence that other methods can’t match, making it a worthwhile investment for many products.
Surface Decals: Versatile Branding Opportunities
Surface decals offer a flexible and cost-effective way to apply branding to a wide range of products. Unlike inlay methods, decals sit on top of the surface, allowing for intricate designs and easy application. They’re great when you need to add logos, graphics, or detailed information without altering the product’s structure.
Waterslide Decals for Detailed Graphics
Waterslide decals are ideal for achieving high levels of detail, far beyond what’s possible with painting or vinyl transfers. They consist of a thin film onto which the design is printed. Once soaked in water, the decal can be slid into position. The material is so thin that, when lacquered over, the edges vanish, making the design appear as part of the surface. They work well on instruments, cases, helmets, and control panels.
Opaque and Waterproof Ink Benefits
One of the main advantages of using surface decals is the ability to use opaque and waterproof inks. This ensures that the colour of the design remains vibrant and isn’t affected by the colour of the surface it’s applied to. This is especially important when applying light-coloured logos to dark surfaces. These inks provide durability against the elements, making them suitable for both indoor and outdoor applications.
Application Surfaces for Decal Branding
Surface decals can be applied to a wide variety of materials, including:
- Plastics
- Metals
- Glass
- Painted surfaces
.
However, it’s important to note that some surfaces, like oiled surfaces, may not be suitable for all types of decals. Proper surface preparation is key to ensuring good adhesion and longevity. For example, cleaning the surface with isopropyl alcohol before application can remove any oils or contaminants that could interfere with the decal’s bond.
Choosing the right type of decal for the specific surface is crucial. Factors like surface texture, material composition, and environmental conditions should all be considered to ensure the decal adheres properly and lasts as long as possible.
Installation Methods for Optimal Branding
Wet Installation for Larger Decals
When dealing with larger decals, wet installation is often the preferred method. This technique involves applying a solution of water and a mild detergent to both the surface and the decal’s adhesive side. This allows for repositioning and prevents air bubbles from getting trapped underneath. Once the decal is in place, the solution is squeegeed out, and the decal is left to dry and adhere fully. It’s a bit more involved, but the results are usually worth it, especially on bigger surfaces where precision is key.
Dry Installation for Smaller Emblems
For smaller emblems, a dry installation is generally quicker and easier. It involves carefully positioning the decal and then applying it directly to the surface. The key here is cleanliness; the surface must be free of dust and grease. You’ll want to use a squeegee or even just your fingers to smooth it out, working from the centre outwards to avoid trapping air. It’s a simpler process, but you’ve got less room for error, so take your time.
Transfer Tape for Multi-Part Decals
Multi-part decals, especially those with intricate designs or lettering, often come with transfer tape. This tape holds all the individual pieces in the correct alignment during application. Here’s how it usually goes:
- First, the transfer tape is applied to the decal.
- Then, the backing is removed, exposing the adhesive.
- Next, the decal (with the transfer tape still attached) is positioned on the surface.
- Finally, the decal is smoothed down, and the transfer tape is carefully peeled away, leaving the decal in place.
.
Using transfer tape can be a lifesaver when you’re dealing with complex designs. It ensures everything stays aligned and prevents those frustrating moments when bits of the decal stick where they shouldn’t. It might seem like an extra step, but it’s well worth it for a professional-looking finish.
Material Considerations for Branding Longevity
When it comes to branding, it’s not just about the design; it’s also about what your logo or decal is made from. The material you choose can significantly impact how long your branding lasts and how well it stands up to wear and tear. Let’s have a look at some key considerations.
Choosing the Right Plastic for Logos
Selecting the right plastic is vital for logo longevity. Some plastics are more resistant to UV light, preventing fading and discolouration over time. Others are better at withstanding impacts and scratches. Consider the environment where your branded product will be used. For example, if it’s going to be outdoors, you’ll need a UV-resistant plastic. If it’s something that will be handled a lot, scratch resistance is key. Here’s a quick rundown:
- ABS (Acrylonitrile Butadiene Styrene): Good impact resistance, but can be susceptible to UV degradation.
- Polycarbonate: Excellent impact and UV resistance, but more expensive.
- Acrylic: Great clarity and weather resistance, but can be brittle.
.
Choosing the correct plastic is more than just picking a material; it’s about ensuring your brand representation remains intact and vibrant for the long haul. It’s an investment in the enduring quality of your brand image.
Metallic Textures Through Polishing
Achieving a metallic look doesn’t always mean using actual metal. Polishing certain plastics can create a convincing metallic texture. This is a great option if you want the look of metal without the weight or cost. However, it’s important to consider how well the polished surface will hold up over time. Scratches can easily ruin the effect, so a protective coating might be necessary. This is especially important for custom sports floor design where aesthetics meet functionality.
Translucent Rubber for Unique Effects
Translucent rubber can create some really interesting and unique branding effects. It allows light to pass through, which can be used to create illuminated logos or add a subtle glow. However, translucent rubber can be prone to yellowing over time, especially when exposed to UV light. To combat this, look for UV-stabilised rubber compounds. Also, consider the colour of the rubber itself; some colours are more resistant to fading than others.
Here’s a table summarising the key considerations:
| Material | Advantages | Disadvantages | Considerations |
|---|---|---|---|
| UV-Resistant Plastic | Prevents fading, ideal for outdoor use | Can be more expensive | Check UV resistance rating |
| Polished Plastic | Metallic look without the weight or cost | Susceptible to scratches | Protective coating recommended |
| Translucent Rubber | Unique lighting effects | Can yellow over time | Use UV-stabilised compounds, consider colour |
Designing Effective Branding Elements

Simplifying Logo Reproduction
When it comes to branding, simplicity is key. A complex logo might look great on a large banner, but how will it translate to a small product label or an engraved surface? The easier your logo is to reproduce, the more versatile and cost-effective your branding will be. Think about reducing intricate details and focusing on core shapes and colours that represent your brand. This ensures consistency across all applications, from digital platforms to physical products.
Prototyping Before Mass Production
Before committing to a large-scale production run, it’s vital to prototype your branding elements. This allows you to identify any potential issues with the design, materials, or application process. It’s much cheaper to fix a problem during the prototyping stage than to recall thousands of products with a flawed logo.
Here’s a simple table illustrating the benefits of prototyping:
| Benefit | Description |
|---|---|
| Issue Detection | Identifies design flaws or application problems early on. |
| Cost Savings | Prevents costly mistakes in mass production. |
| Quality Assurance | Ensures the final product meets your branding standards. |
Creating a Memorable Brand Identity
Your logo is more than just a pretty picture; it’s the visual representation of your brand’s values, personality, and promise. A memorable brand identity helps customers connect with your company on an emotional level, fostering loyalty and recognition. Consider what makes your brand unique and how you can translate that into a visual element that resonates with your target audience.
Think about the long-term impact of your branding choices. A well-designed and consistently applied brand identity can build trust, differentiate you from competitors, and ultimately drive business growth. It’s an investment in your company’s future.
Making sure your brand looks good is super important. It helps people remember you and what you’re all about. If you want to learn more about how we can help your brand stand out, pop over to our website and have a look at our “Get In Touch” section.
Conclusion
So, when it comes to putting your brand’s mark on things, you’ve got a couple of main choices: inlay logos or surface decals. Each one has its own good points and not-so-good points, you know? Inlays, they’re pretty much built right into the product, which makes them super tough and they look really fancy, like they’re part of the item itself. But, they can be a bit more of a faff to do and might cost a bit more upfront. Then there are surface decals. These are usually quicker and cheaper to put on, and you can get some really detailed designs with them. The thing is, they might not last as long as an inlay, especially if the item gets a lot of wear and tear. Ultimately, picking the right one really depends on what you’re making, how much you want to spend, and how long you need that logo to stick around looking good. Think about what’s most important for your product and your budget, and that’ll help you decide.
Brand your floor → Sports Hall Markings
Frequently Asked Questions
What exactly is inlay branding?
Inlay branding means putting a thin piece of material, like a veneer, into a product’s surface. This creates a cool look with different textures or colours. It’s great for making logos stand out and look fancy.
How does injection moulding help with branding?
Injection moulding is a way of making things by squirting melted plastic into a mould. For logos, you can make a space in the mould and fill it with different coloured plastic, or even use two types of plastic at once for a fancy effect.
What’s laser engraving all about for logos?
Laser engraving uses a strong light beam to draw logos onto a product. It makes a lasting mark that won’t rub off. You can even control how deep the mark goes to make it more durable.
Tell me about surface decals. What are they?
Surface decals are like stickers, but much thinner. You soak them in water, then slide the design onto the product. They’re good for detailed pictures and can go on many different surfaces.
How do you put these logos on, wet or dry?
You can put decals on wet or dry. Wet installation is best for bigger decals because you can move them around a bit. Dry installation is quicker for small ones, but you only get one shot to get it right.
What materials are best for long-lasting logos?
To make logos last, pick the right plastic. Some plastics are tougher than others. You can also make logos look metallic by polishing them, or use see-through rubber for a unique, glowing effect.