Are you underestimating the effects of your flooring installation environment? Ignoring crucial site conditions could lead to complications, increased costs, and even a failed project. In the world of sports hall flooring, where performance and safety are paramount, a flawless installation begins with meticulous preparation. This guide will walk you through a comprehensive checklist designed to seamlessly pave the path to a successful flooring project. From pre-installation planning to post-installation reviews, discover how ensuring optimal site conditions can maximise quality, enhance safety, and prolong your floor’s lifespan. Dive in to transform potential pitfalls into perefct practice!
Essential Pre-Installation Site Conditions
Effective planning is the cornerstone of any successful floor installation project. Prior to commencing the installation, securing the necessary permits is crucial to ensure compliance with local regulations. These permits verify that the planned work meets all safety and zoning requirements, thus preventing legal complications. During the planning phase, it is essential to allocate time to assess the site thoroughly. This involves measuring and marking the areas where flooring will be installed. Accurate measurements guarantee that the materials ordered will fit perfectly and reduce the risk of waste. Additionally, marking the site helps identify any potential obstacles that might impede the installation process.
- Measure the site accurately to ensure enough materials are ordered.
- Mark installation areas to identify potential obstacles.
- Clear obstructions such as furniture and debris from the site.
- Verify compliance with local codes and obtain necessary permits.
- Coordinate utility disconnections if required for safe installation.
- Plan site access for delivery and installation teams.
.
Conducting a detailed site inspection is pivotal to identify any unforeseen issues that could arise during installation. This proactive approach allows installers to address potential problems beforehand, ultimately saving time and reducing costs. By thoroughly inspecting the site, installers can determine the most efficient workflow and resource allocation, enhancing productivity. Moreover, a well-planned installation minimises disturbances to the surrounding environment and maximises the operational lifespan of the new flooring. Such meticulous preparation ensures a flawless fit, optimising both the aesthetic and functional outcomes of the project.
Environmental Conditions and Climate Control
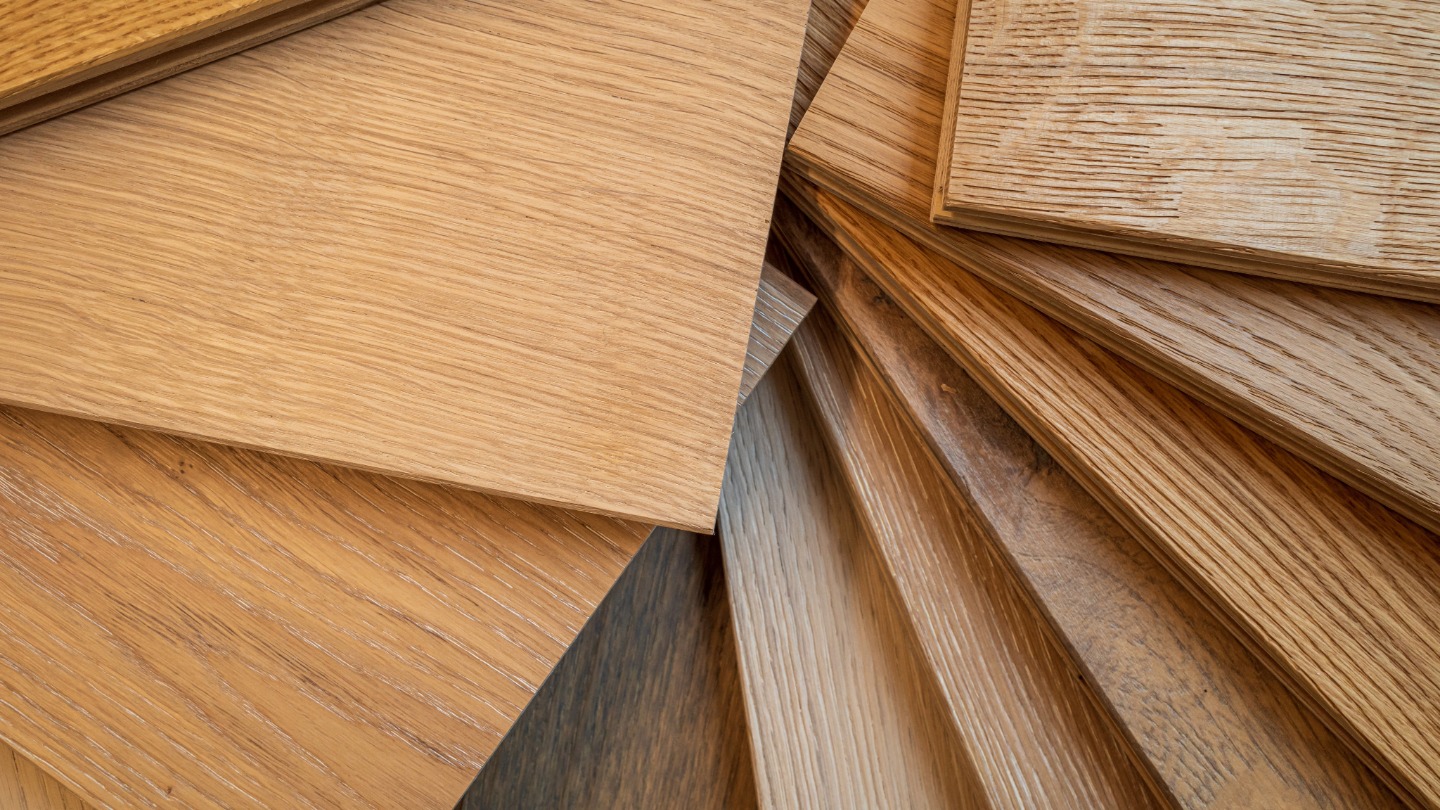
Proper climate control is imperative for achieving a flawless flooring installation. Ensuring the indoor environment is maintained at the correct temperature and humidity levels specific to the flooring type is crucial. For instance, maintaining consistent temperatures prevents material expansion or contraction, which could compromise the integrity of the installation. Acclimation, which involves allowing the flooring materials to adapt to the room’s climate for 72 hours to 7 days, is essential to mitigate the risk of warping or gapping. This step is particularly vital for materials like wood, which are sensitive to environmental changes.
| Condition | Duration | Importance |
|---|---|---|
| Temperature | Consistent throughout installation | Prevents material expansion/contraction |
| Humidity | Monitored continuously | Maintains material stability |
| Acclimation | 72 hours to 7 days | Prevents warping/gapping |
Neglecting environmental conditions can lead to significant pitfalls. Failing to maintain proper temperature and humidity levels might result in uneven surfaces or compromised structural integrity. Without adequate acclimation, the flooring could suffer from undesirable movements post-installation, leading to costly repairs. Ensuring these conditions are met not only extends the lifecycle of the flooring but also provides a smooth and aesthetically pleasing finish.
Ensuring Structural Integrity and Surface Preparation
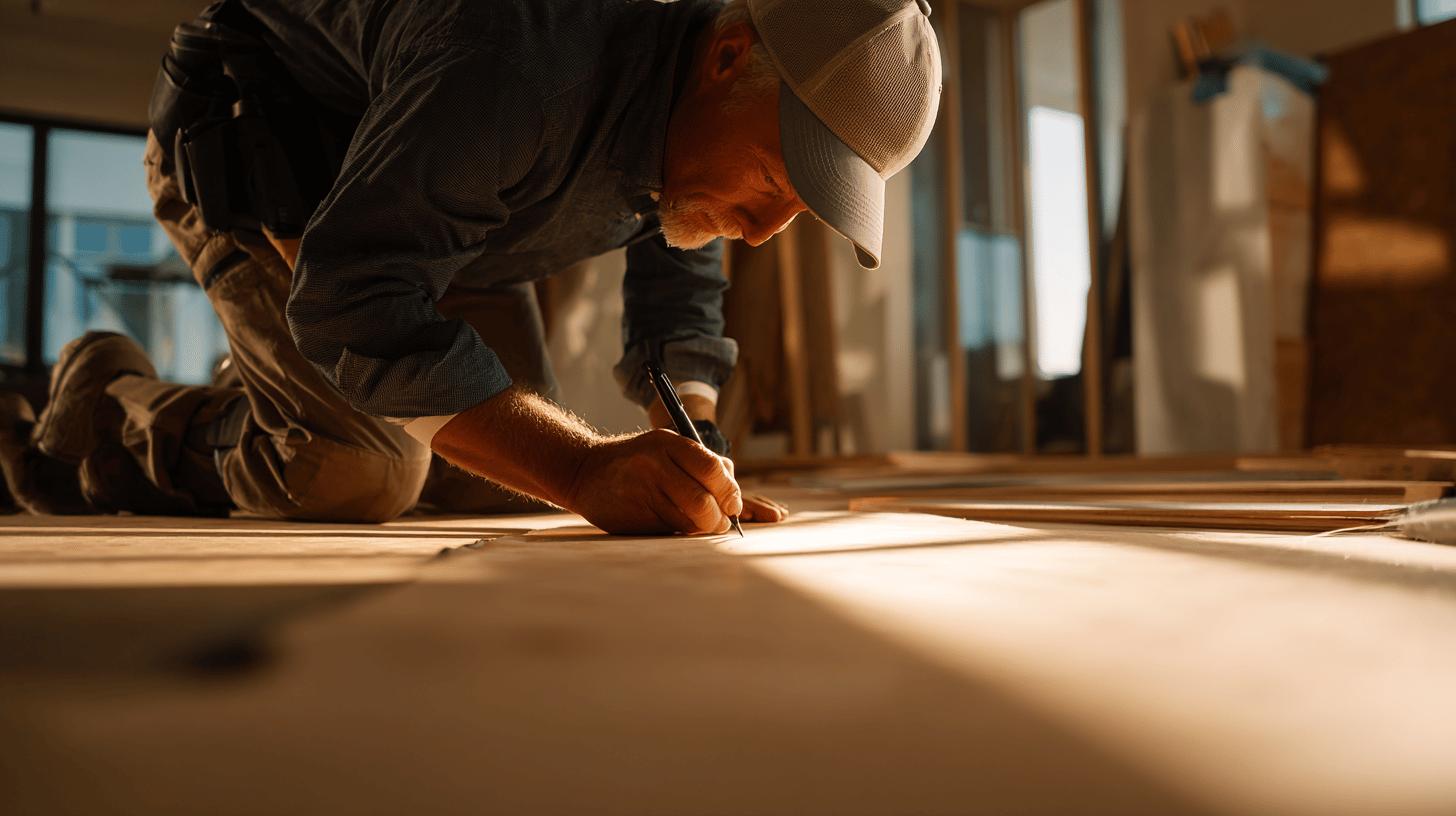
The foundation of any successful flooring installation lies in ensuring the site’s structural integrity and meticulous surface preparation. A flat, smooth, and securely fixed subfloor is essential to achieve a flawless finish and optimise the lifespan of the flooring. Any irregularities in the subfloor can lead to uneven surfaces, which may cause premature wear or safety hazards. Comprehensive site evaluation is crucial to identify and rectify potential issues before installation, as this proactive approach prevents costly repairs and enhances the flooring’s aesthetic appeal and functional performance.
To prepare the subfloor effectively, begin by inspecting it for any damage or uneven areas. Use a straightedge or level to check for flatness, and address high spots using an angle grinder or low spots with a floor levelling compound. Next, ensure the subfloor is securely fixed to prevent movement or squeaking. If necessary, reinforce it with additional fasteners. The surface should be smooth and free from debris, requiring thorough cleaning before proceeding. This step-by-step preparation guarantees that the new flooring will adhere properly and remain stable underfoot.
Moisture level checks are integral to maintaining the flooring’s structural integrity over time. Excessive moisture can lead to warping, mould, or adhesive failure, compromising the floor’s durability. Employ appropriate moisture tests, such as calcium chloride or moisture meters, to assess the subfloor’s moisture content. Consult with flooring professionals to determine acceptable moisture levels for the specific flooring type. By addressing moisture issues before installation, one ensures a long-lasting and resilient floor that withstands environmental changes.
Tools, Equipment, and Safety Protocols
Selecting the appropriate tools and equipment is pivotal in achieving a flawless flooring installation. Essential items include underlay, transitions, and adhesives, which are crucial for a seamless finish and enhanced performance. Proper underlay not only provides a cushioning effect but also improves thermal and acoustic insulation. Transitions are vital for smooth transitions between different flooring types or rooms, ensuring both aesthetic appeal and functional continuity. Quality adhesives are indispensable for securing the flooring and preventing issues such as lifting or shifting over time. Therefore, acquiring high-quality materials and ensuring they match the specific flooring type is imperative for long-term success.
- Secure pets in a separate room or arrange for pet sitting to prevent interruptions.
- Clear the workspace of clutter and unnecessary items to avoid tripping hazards.
- Use appropriate personal protective equipment (PPE), including gloves, masks, and safety goggles.
- Ensure power tools are in good working condition and used according to the manufacturer’s instructions.
- Verify electrical safety, ensuring all equipment is grounded and cords are not frayed.
.
Implementing stringent safety protocols is non-negotiable for maintaining a safe working environment. Ensuring handler safety through the use of personal protective equipment (PPE) is fundamental in reducing the risk of injuries. Regularly checking power tools for proper function and adhering to the manufacturer’s guidelines minimises accidents. Moreover, maintaining a well-organised workspace and checking electrical equipment for faults prevents potential hazards. These best practices not only protect the installation team but also contribute to a smoother, more efficient installation process, ultimately leading to a successful project completion.
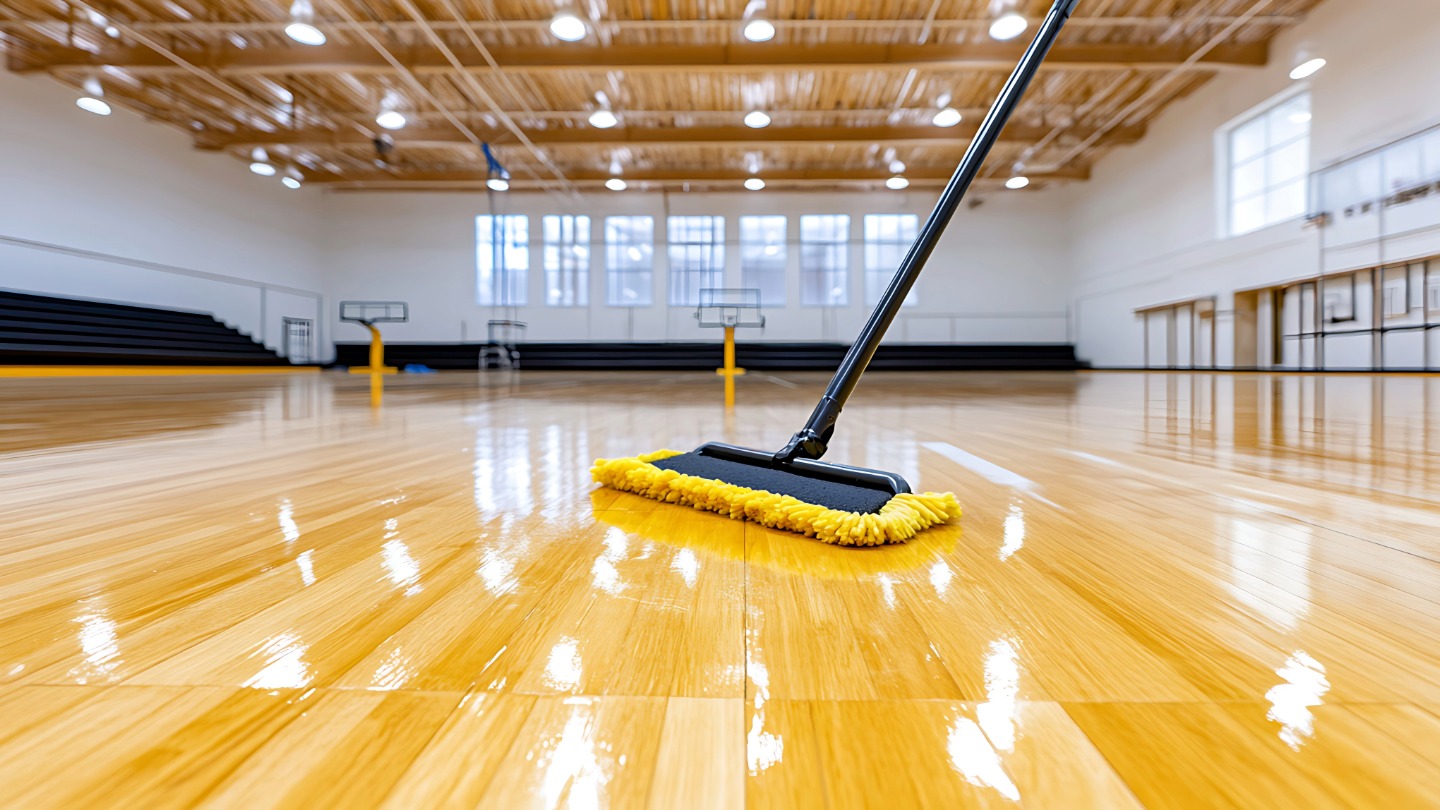
Final Checks and Post-Installation Review
Upon delivery, inspecting the flooring is imperative to ensure it arrives in pristine condition and matches the order specifications. Are there any signs of damage present? If yes, documenting these issues immediately is crucial for addressing them with the supplier. Does the flooring align with the expected colour, style, and quantity? Confirming these aspects helps avoid potential installation delays. This initial inspection sets the stage for a successful project by preventing unforeseen complications during installation.
Following the completion of the installation, a thorough cleanup is essential. What steps should be included in the cleanup process? Start by removing any leftover materials and debris from the site. These remnants can pose tripping hazards and detract from the overall appearance of the new flooring. Are there extra planks available? If so, storing them safely is advisable for future repairs, as flooring styles may become unavailable over time. Proper material management post-installation not only maintains a safe environment but also ensures resources are readily available for any necessary touch-ups.
A comprehensive post-installation review is the final step to achieving quality assurance and customer satisfaction. Why is this review significant? It involves assessing the installation’s adherence to the manufacturer’s guidelines and the overall finish quality. Are there any discrepancies or imperfections? Identifying and rectifying them promptly upholds the flooring’s integrity and appearance. This review process confirms that the installation meets professional standards, reinforcing confidence in the work completed and ensuring the client’s expectations are exceeded.
Final Words
Achieving a flawless flooring installation begins with meticulous pre-installation site preparation, setting the stage with essential planning and local permits.
Environmental climate control plays a vital role in maintaining proper temperature and preventing costly adjustments.
Surface preparation ensures longevity, requiring checks on the subfloor’s integrity and moisture levels.
Equipping the team with the right tools and adhering to safety protocols prevents potential hazards.
Final inspections, guided by an installation checklist, ensure attention to detail, leaving no room for oversight.
By following these comprehensive steps, facilities can ensure quality and performance in sports hall flooring installations.
A Step-by-Step Guide to Sports Floor Installation
Book a site survey → Sports Flooring Contractors
FAQ
Q: How can you prepare for flooring installation?
A: Initial steps include planning the layout, obtaining necessary permits, and ensuring compliance with local regulations. Proper preparation involves measuring the space accurately, marking critical points, and clearing obstructions for an efficient installation process.
Q: What tools are needed for vinyl floor installation?
A: Tools for vinyl floor installation include a utility knife, tape measure, straight edge, seam roller, T-square, and adhesive spreader. These tools ensure precise cuts, accurate measurements, and a neat finish.
Q: What are common mistakes when laying laminate flooring?
A: Common errors in laminate flooring include inadequate acclimatisation, poor subfloor preparation, incorrect spacing between boards, and failure to use a moisture barrier. These can lead to warping, buckling, and uneven surfaces.
Q: Is it possible to replace floors without moving out?
A: Yes, it is possible to replace floors without moving out by planning in stages, limiting access to certain areas, and protecting belongings with dust covers. This minimises disruption and safeguards personal items.
Q: What are the best flooring tools to use?
A: Essential flooring tools include a floor cutter, edge sander, tapping block, rubber mallet, and pull bar. These tools facilitate precision, ease of installation, and professional results across various flooring types.
Q: What is an installation checklist for site conditions?
A: An installation checklist should include checking for level subfloor, measuring space dimensions, ensuring structural integrity, preparing the site for obstructions, applying moisture barrier, and confirming climate control conditions.
Q: Why is climate control important during flooring installation?
A: Maintaining appropriate interior temperatures and humidity ensures materials do not expand or shrink unpredictably, leading to a stable fit. Acclimating materials prior to installation prevents future defects.